Android-x86 is a free and open-source project that aims to port Android OS to run on devices powered by x86 processors. Its development was started in 2009 by Chih-Wei Huang and Yi Sun. Some patches, modifications are made to the Android Open Source Project (AOSP) to enable it to run on PC architecture.
In this article, I will show you how to install and use Android x86 in KVM with full hardware acceleration on a Linux system.
Prerequisites
In order to follow this guide, you should have –
- A Linux system (I will use Linux Mint)
- Access to an account that has superuser privileges
- A virtualization software installed on your system (I will use KVM)
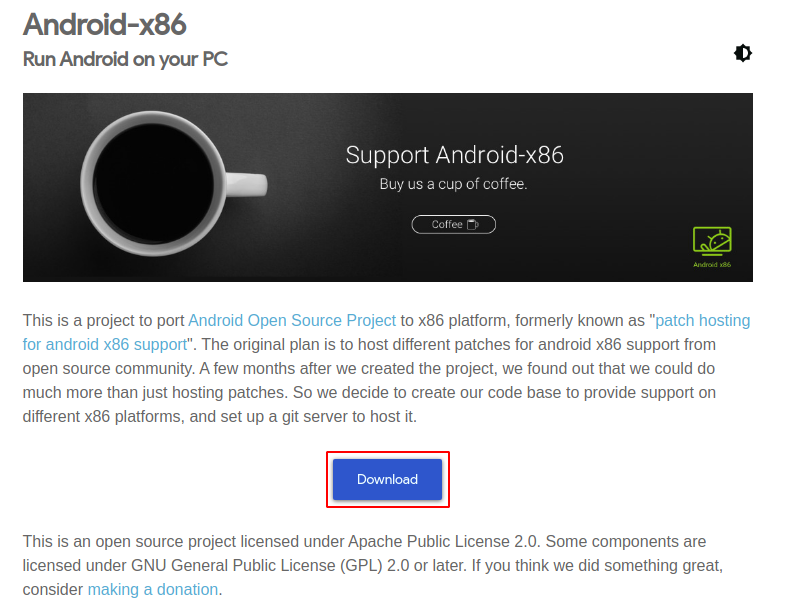
Download Android-x86 ISO image
First, go to the official website and then click on the Download option to download the Android-x86 Iso file.
Once the downloading of androidx86 is complete you can move to the next step.
Install KVM on Linux system
Before you install Android x86 on a virtual machine you need to set up virtualization software. Since we will create a virtual machine using KVM so first we need to install the KVM packages.
To install KVM CPU on your system should supports virtualization, now use the given command to download and install the packages required for setup KVM on your system.
sudo apt install -y qemu qemu-kvm libvirt-daemon libvirt-clients bridge-utils virt-manager
Once the installation gets complete restart your system.
Create a VM and install Android OS
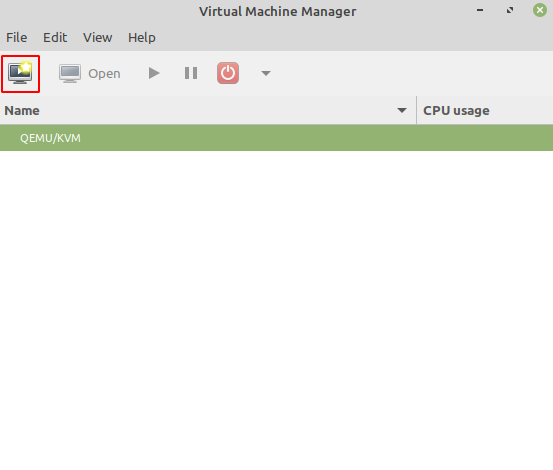
Now in the Start menu search virtual machine manager and click on the icon when appeared to start creating virtual machines. OR use the given command in your terminal to start virtual machine manager –
virt-manager
This will display the given window. Click on the highlighted icon to create a virtual machine.
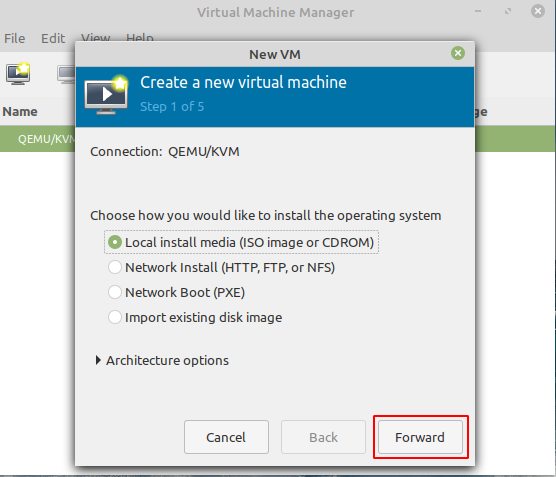
In the new window choose an option that how would you like to install an OS and click on the Forward button. Since we are going to install OS using ISO image so I choose i.e. Local install media (ISO image or CDROM).
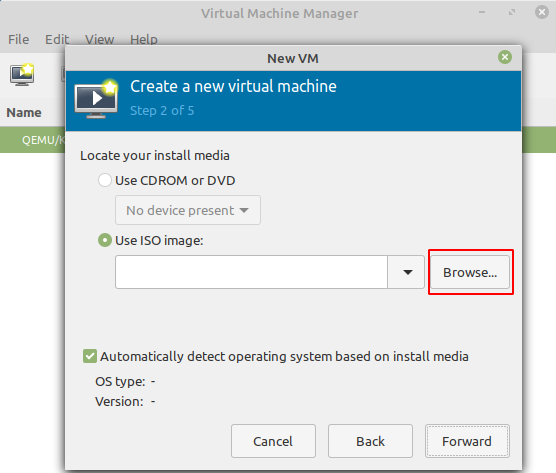
Select, Use ISO image and click on Browse –
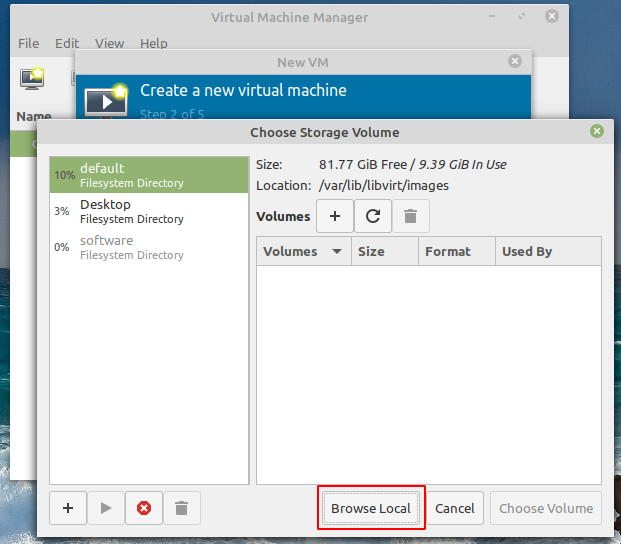
This will open another window. Now click on Browse Local –
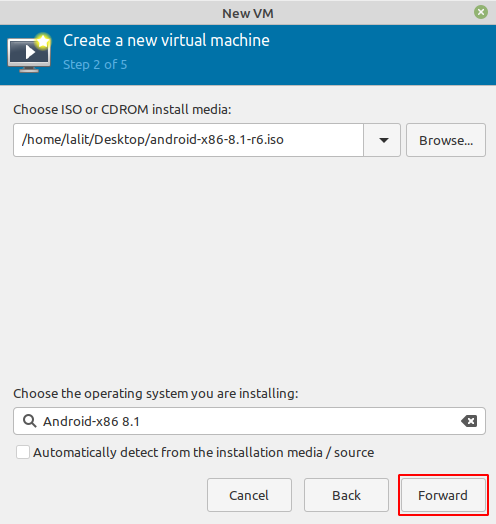
Next, choose the iso file of Android-x86 –
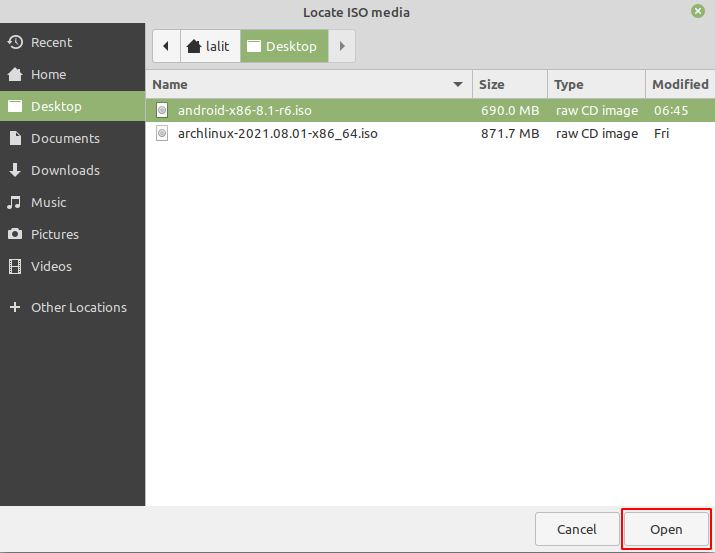
After choosing the android iso file click on Forward.
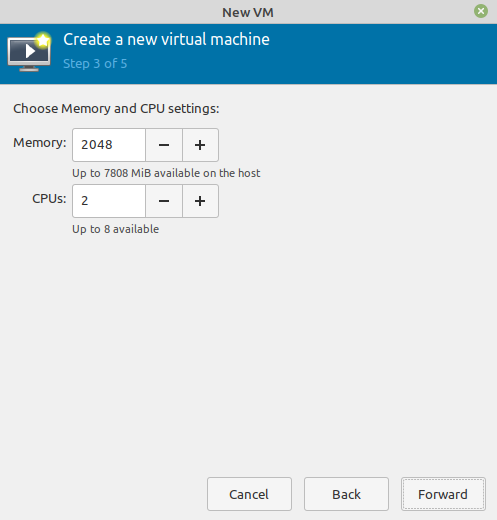
Next, assign the RAM and number of CPUs –
Now assign the disk space –
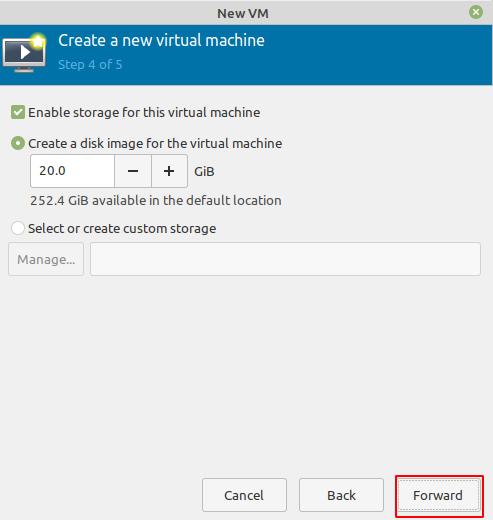
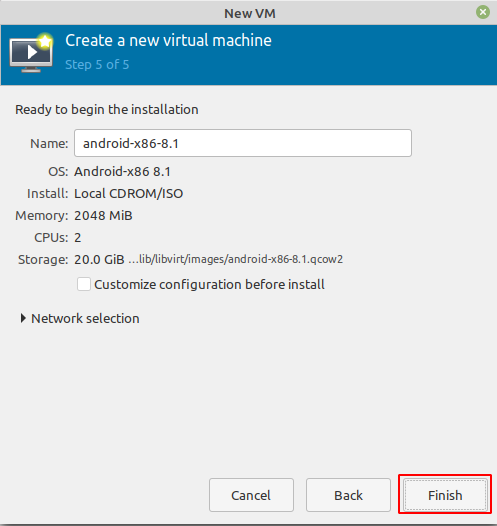
Finally, click on Finish to create the virtual machine.
Installing Android OS in the virtual machine
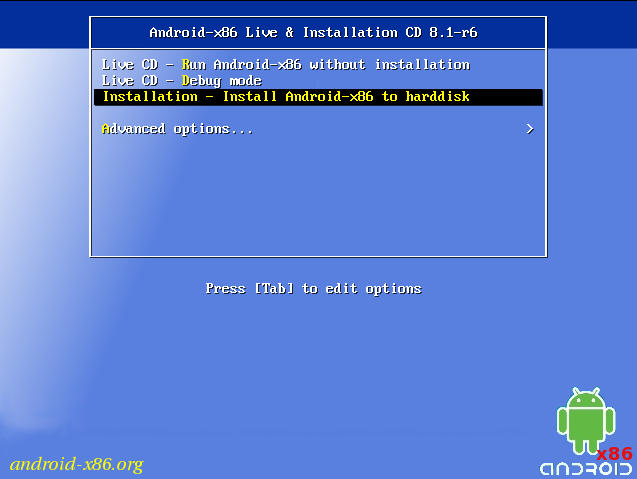
The next window will display three options select the Install Android-x86 to hard disk and press enter.
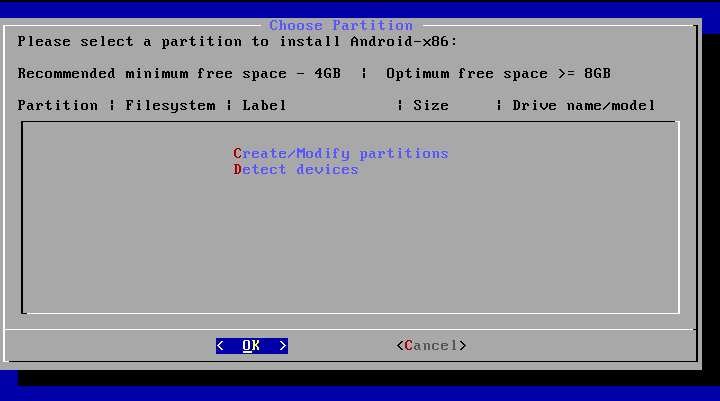
Next, choose the partition where you want to install android. Press C to create/ Modify partition or press D to automatically detect a partition.
Choose to Create/ Modify partitions and press enter.
This will ask you that do you want to use GPT press y for yes or n for no. Here I will use GPT.
Now this will open the partition manager. Select the New and then press enter.
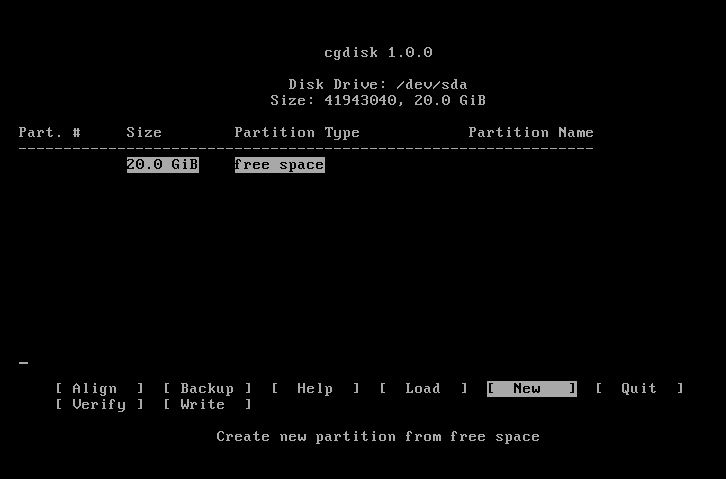
This may ask you many options keep pressing enter for creating a new partition. Next, select the Write option and then press enter, if ask for confirmation type yes and then again press enter to create a new partition table from free space.
Now Select Quit and then press enter to exit from the partition manager. By default, Sda1 is selected press enter.
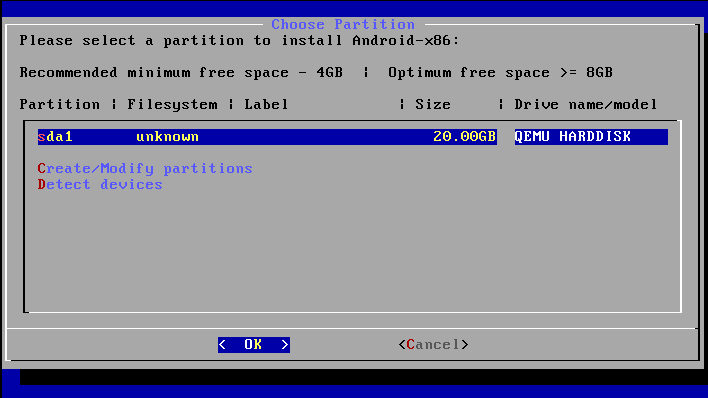
Next, it will ask to choose the filesystem to format the partition. Choose ext4 and then press enter to proceed. On the next screen, it will again ask you for confirmation for formatting the partition.
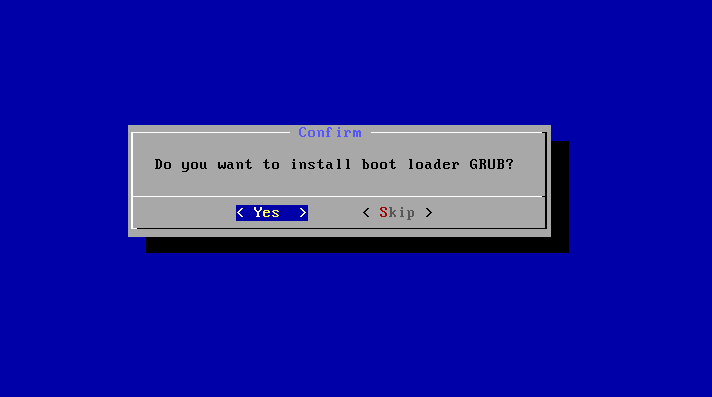
It will ask you to install boot loader GRUB select Yes and then press enter –
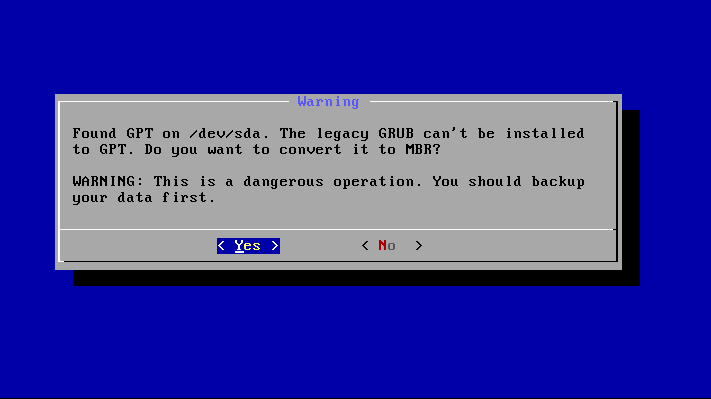
This may display a warning that you can see in the image below. Press y to proceed with the installation process.
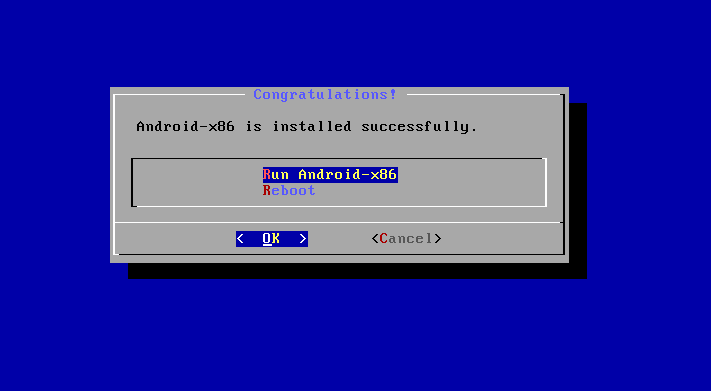
Now this will install the android os now to run it choose Run Android-x86 and press enter.
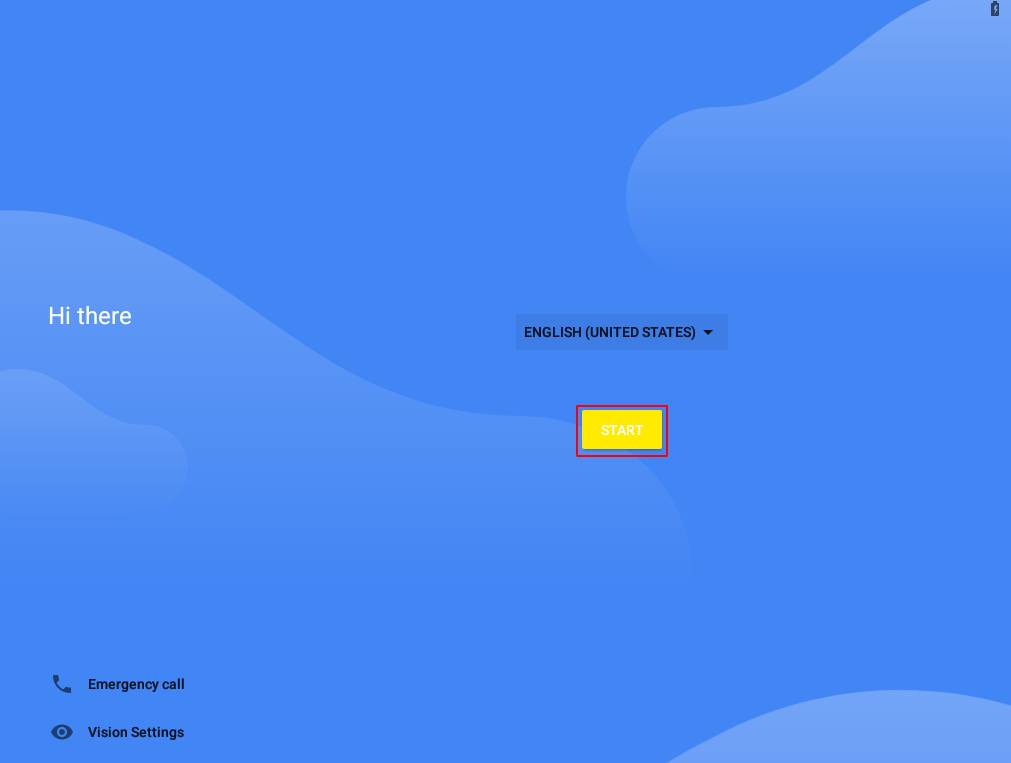
This will start the Android OS you can see this in the image below. Click on Start this will ask you the option such as date and time, connect to wifi, your name, etc that you see while setting up a new android device.
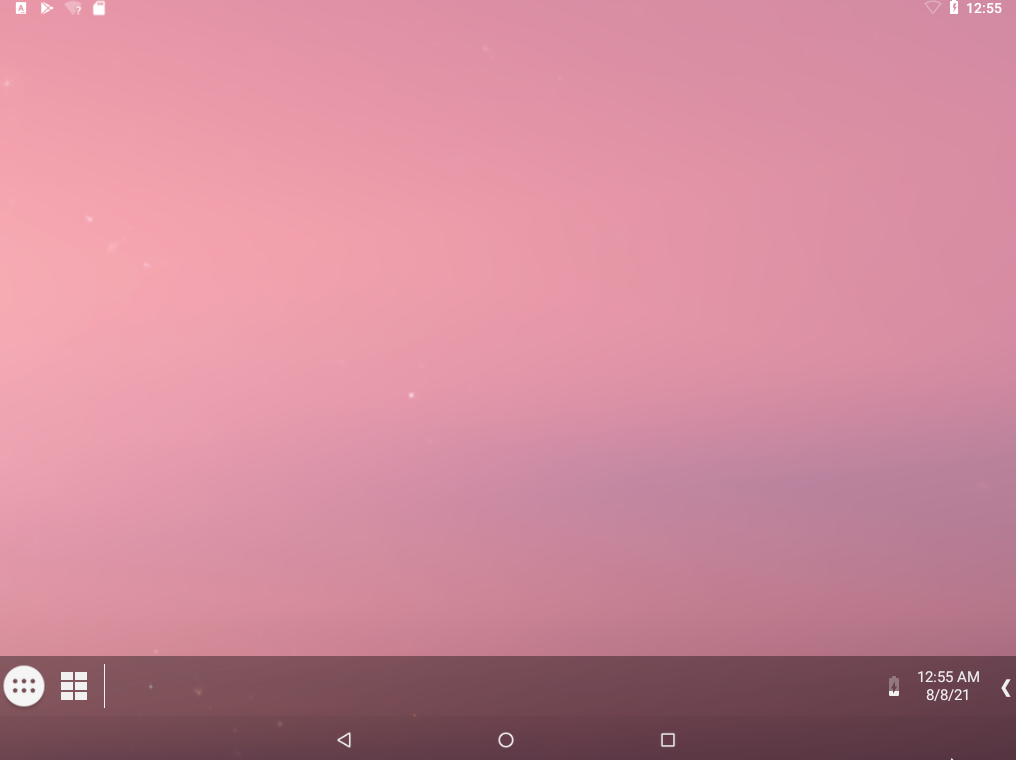
Finally, you will see the home screen of your Android system. Here you can start installing android apps.
Conclusion
This article shows you how to install Android OS on a system. Now if you have a query then write us in the comments below.
i spent more than 8 hours just to install this and with your post it was such a easy task :) Thanks
I am glad to know this guide helped you solving the problem you were facing.
Thanks for sharing this. I’ve set up everything right but i got one issue. when i change focus to android the pointer gets stuck in android and i cant bring it back to host(Manjaro).
thanks
Check the title of the KVM.
Mine shows instructions to press the left-hand CTRL and ALT buttons simultaneously to release the pointer.
Press Ctrl+Alt to exit