Evolution or GNOME Evolution is a free and open-source personal information manager which provides integrated mail, calendar, address book, and task list functionality.
GNOME Evolution is similar to Microsoft Outlook and it is the default personal information management application in the GNOME desktop environment.
In this article, I will discuss how to install the Evolution email client in Ubuntu.
Features of Evolution email client
The key features of the Evolution email client are –
- Free and opensource
- Integrated applications such as calendar, address book, task list, note-taking app, etc.
- Secure network connections with SSL, TLS, and STARTTLS
- Automatic email encryption
- Automatic spam filtering with SpamAssassin and Bogofilter
- Support different calendar formats
- Have a news client and RSS reader plugin
How to install Evolution in Ubuntu
The Evolution email client is available in the default repository of Ubuntu. By following the given steps you can install it on your system.
The installation of GNOME Evolution in Ubuntu is available through its PPA repository. Follow the given steps to install it on your system.
Before installing any package run the given command to refresh the apt package repository –
sudo apt updateNow use the following command to install Evolution on your system –
sudo apt install evolutionPress y and then enter when it asks for your confirmation.
You can verify the installation by using –
evolution --versionThis will display the current version of the Evolution email client installed on your system.
![]()
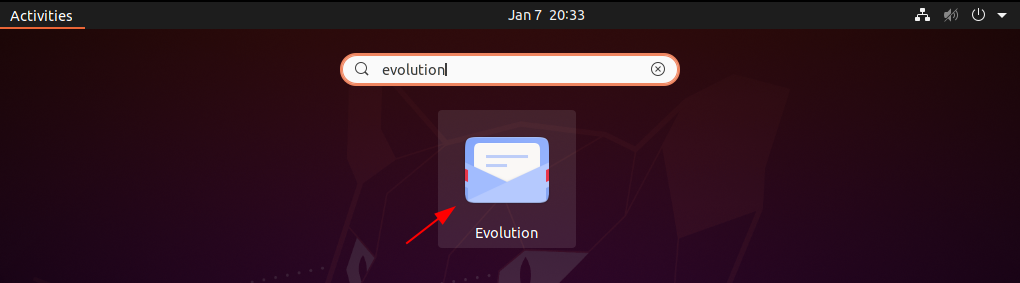
Launch the Evolution on Ubuntu
Once the installation is successful you can open and configure the Evolution email client on your system. Search Evolution and click on its icon when appears as you can see in the image below.
Now you will see Evolution’s welcome screen.
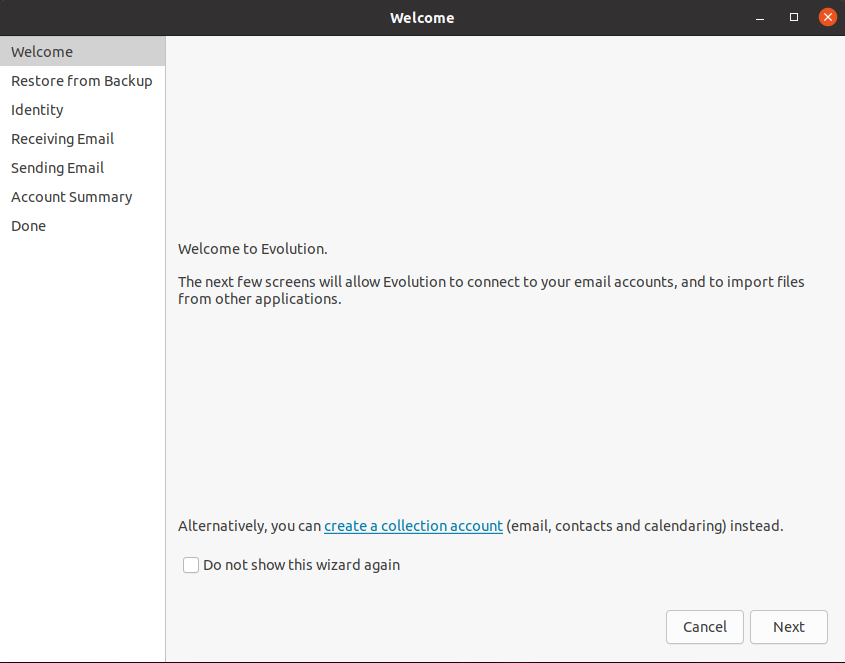
Configure an email account in Evolution
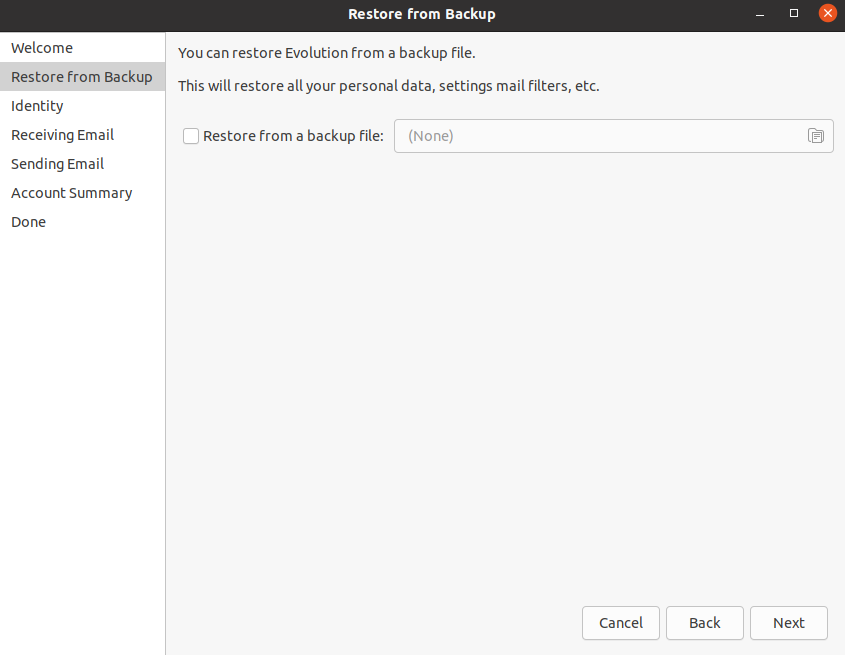
Click on Next to move ahead, now in the next screen, you can mark the Restore from a backup file option if you already have a backup and you want to restore from it.
Click on Next to continue.
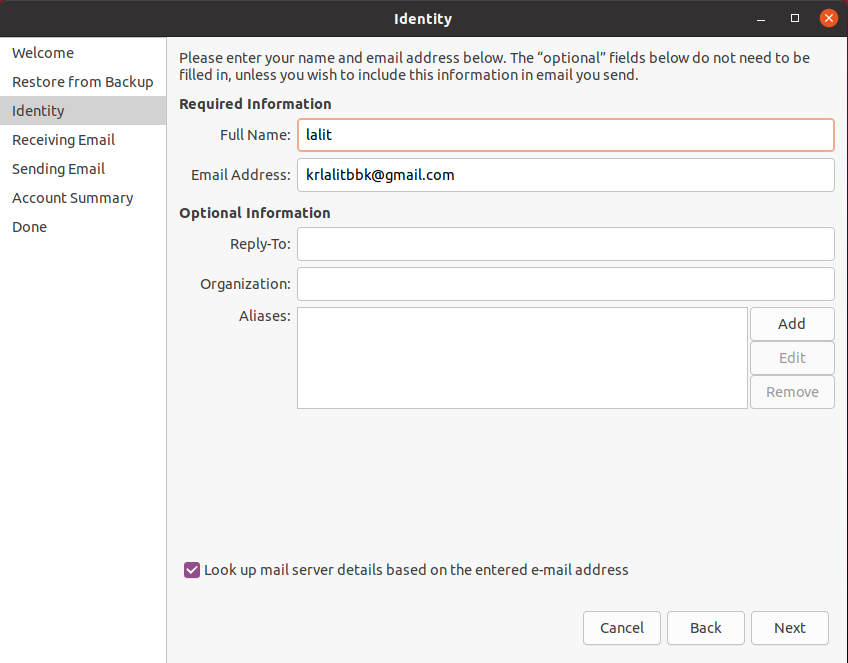
Enter your name and email address, mark the Lookup mail server details based on the entered email address, and click on Next.
This will automatically find the email server settings as you can see in the image below, click on Next to proceed.
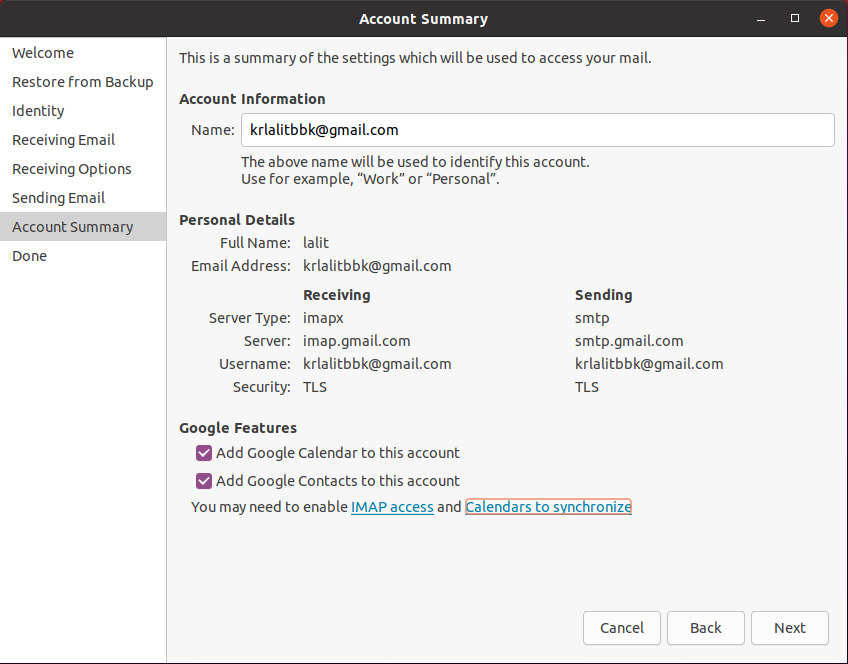
Finally, click on Apply to save the server settings.
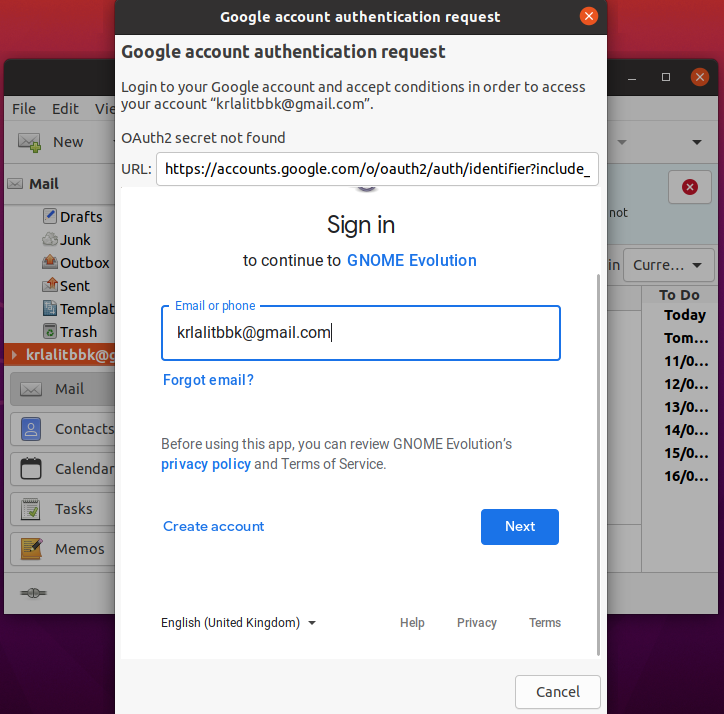
This will open another window for email address authentication, here you need to enter your password and give the required permission to Evolution.
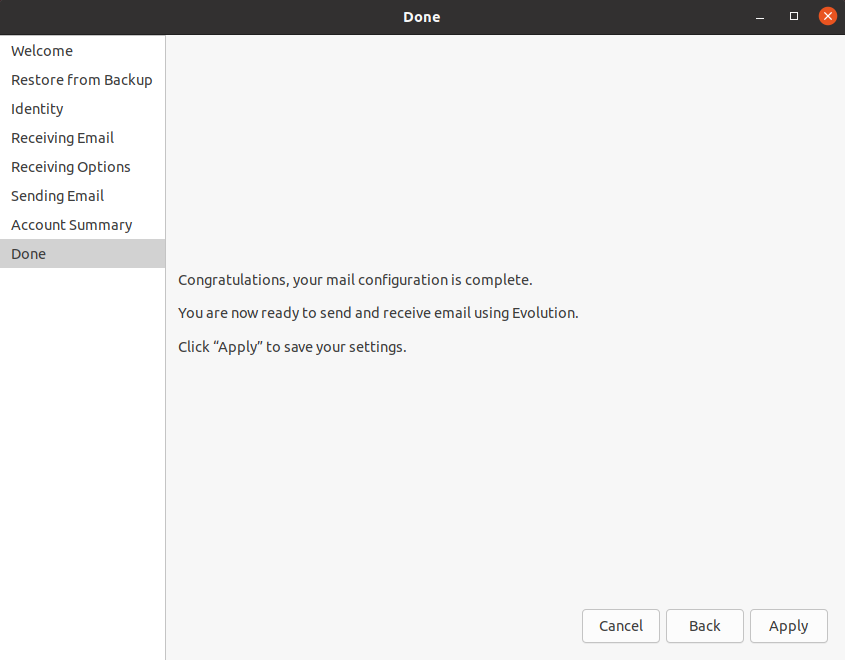
Once completed you you can start accessing, reading, and composing emails from the Evolution email client.
Conclusion
Ok, so you have successfully installed and configured the Evolution email client on your Ubuntu system. Now if you have a query then write us in the comments below.