Flask is an open-source micro web framework that is written in Python. It can be used to develop secure, scalable, and easily maintainable web applications. It is classified as a micro web framework because it doesn’t include ORM, form validation, or any other functionality which is provided by third-party libraries.
However, you can add functionalities such as ORM, form validation, upload handling, etc by using extensions. In this article, I will discuss how to install Flask on Ubuntu.
Prerequisites
You should have root permissions to install a package on the Ubuntu system.
Installing Python
By default, Ubuntu comes preinstalled with Python 3.x but if it is not in your system then use the given command to install it.
First, check update and upgrade packages on your system by using –
sudo apt update && sudo apt upgrade
To install the latest version of python3 from the Ubuntu repository use –
sudo apt install python3 -y
After installing Python3 you can check its version by using –
python3 -V
Creating Python virtual environment
The Flask is available in Ubuntu’s official repository you can use the apt package manager to download it this is one of the simplest ways but you may not get the latest software.
So the recommended method is to create a virtual environment and then install Flask in it. In this way, you can have multiple Flask environments on a single system.
In Python, a virtual environment can be created using the venv module which is available in python3-venv package, use the given command to install it –
sudo apt install python3-venv
Once it gets installed. Create a directory for flask application and move to it by using –
mkdir MyFlaskApps && cd MyFlaskApps
Use the given command to create a virtual environment inside this directory –
python3 -m venv venvNow use the given command to activate the created environment –
source venv/bin/activate
This will display the output as given in the image below.
![]()
Install Flask using pip
Once the virtual environment gets activated you will see that venv is added at the beginning of your shell prompt. Now use the given command to install the flask on your Ubuntu system.
pip install Flask
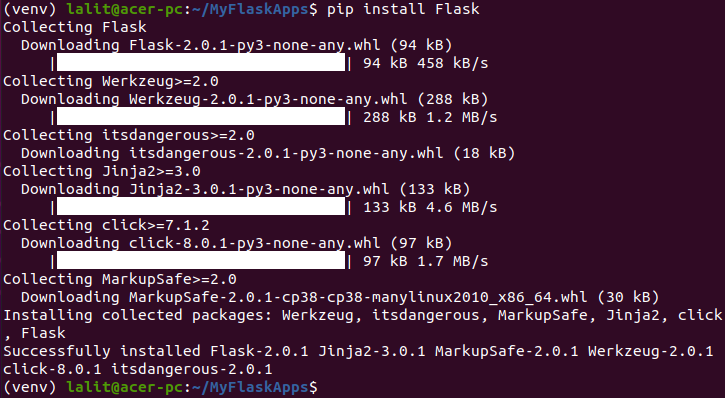
Please note that you can use pip instead of pip3 and python instead of python3 in a virtual environment
You can verify the flask installation by using the given command.
python -m flask --version
You can see the output in the image below.

Running the first Flask application
Copy the given code and save it in a file with .py extension. The code shows a simple flask application.
from flask import Flask
app = Flask(__name__)

@app.route('/')
def first_app():
            return 'Hello, this is my first Flask app'
The code description is given below.
- The first line imports the Flask class in Python
- The second line creates a new instance of the Flask class
- Here route() is the decorator which will be used to register first_app() function. Now when you request this route it will display the text Hello, this is my first Flask app.
Use the given commands to run this application.
export FLASK_APP=firstapp.py
flask run
This will display the given output in your terminal.
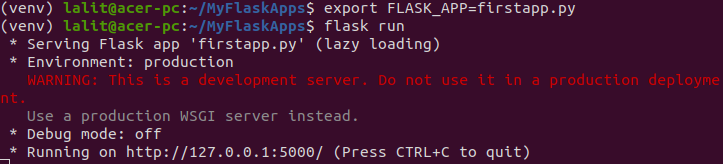
Now open a browser and type http://127.0.0.1:5000/ and press enter.
This will display the given output in the browser.

To stop this press ctrl+c in the terminal. After you are done with your work deactivate the virtual environment by typing the given command in your terminal.
deactivate
Conclusion
I hope you understand how to install and use Flask in Ubuntu. For more information, you can check the Flask official documentation.
Now if you have a query then write us in the comments below.