GitLab is a DevOps software that combines the ability to develop, secure, and operate software in a single application. It provides features that allow individuals or teams to share code remotely with others.
In this article, I will discuss how to install GitLab in Ubuntu Linux.
Prerequisites
To follow this guide you should have the following –
- A system running Ubuntu Linux
- Access to a user account with sudo privilege
How to install GitLab in Ubuntu
There are different methods by which you can install GitLab on a Ubuntu system. Use one of the given methods to install it on your system.
Installing GitLab using deb pacakge
Go to the official download page of GitLab and download the deb package for Ubuntu. You can also download it by using the given command in your terminal –
wget https://packages.gitlab.com/gitlab/gitlab-ce/packages/ubuntu/focal/gitlab-ce_14.9.1-ce.0_amd64.debOnce the package is downloaded, use the following command to install the deb package in your system –
sudo dpkg -i gitlab-ce_14.9.1-ce.0_amd64.debInstalling GitLab using the script
Before you run any command make sure the apt repository on your system is updated –
sudo apt updateUse the following command to download some prerequisite packages –
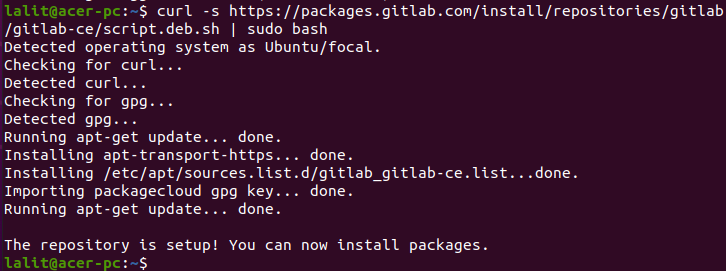
sudo apt install -y curl openssh-server ca-certificatesRun the given command to setup GitLab repository on your system –
curl -s https://packages.gitlab.com/install/repositories/gitlab/gitlab-ce/script.deb.sh | sudo bashThis will display output something as given in the below image.
Finally, run the given command to install GitLab on your system –
sudo apt install gitlab-cePress y and then enter if it asks for your confirmation.
Configuring GitLab
Once the GitLab is installed on your system, use the following command to open and edit the GitLab configuration file here you can change the hostname and other such parameters –
sudo vim /etc/gitlab/gitlab.rbSave the file and exit. Now run the given command to reconfigure the GitLab services –
sudo gitlab-ctl reconfigureThis will start reconfiguring all the GitLab services, it can take some time so be patient.
Now use the following command to start GitLab services –
sudo gitlab-ctl startBy using the following command you can check if services are running or not –
sudo gitlab-ctl statusAccessing GitLab web interface
Once the GitLab is set up successfully you can access GitLab through a web browser. Open the browser and enter the given URL –
http://gitlab.example.comReplace this URL with whatever you have configured in the GitLab configuration file.
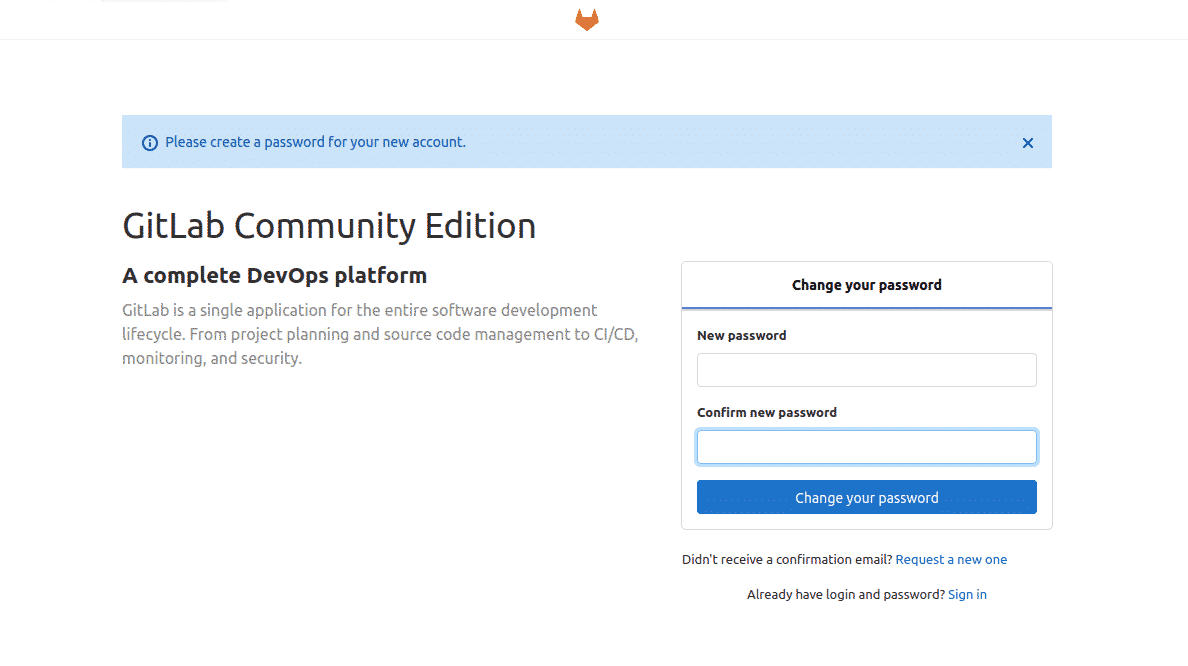
Here change your new account password and log in to the GitLab web portal. If you want instructions on how to use GitLab then follow its official documentation.
How to remove GitLab from Ubuntu
If you want to remove GitLab from your system then use –
sudo apt remove gitlab-ce -yRemove any unused dependencies by using –
sudo apt autoremoveConclusion
So we hope you have successfully set up and are able to use GitLab on your system. Now if you have a query then write us in the comments below.