MySQL is a free and open-source relational database management system. A relational database organizes data into one or more tables in which data types may be related to each other. SQL (Structured Query Language) is used to create, modify and extract data from a relational database, also control the user access to the database.
In Linux, it is commonly installed as part of the LAMP (Linux, Apache, MySQL, and PHP) stack. In this article, we will discuss how to install MySQL in Ubuntu.
Prerequisites
You should have access to a user account with superuser privileges.
Installing MySQL on Ubuntu
We will install MySQL version 8.0 from Ubuntu’s package repository on Ubuntu 20.04 system.
First, use the following command to update the package index –
sudo apt update
Now use the given command to install the MySQL server on your system –
sudo apt install mysql-server
If it asks for confirmation press y and then enter. This will start the installation process. Once installation gets completed you can verify it by using.
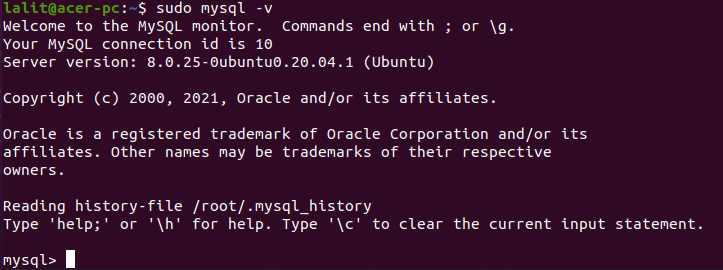
sudo mysql -v
This will display the installed version –
Check the status of MySQL service on Ubuntu
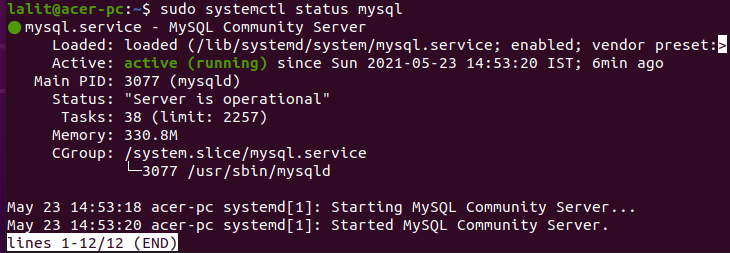
MySQL services will gets automatically started on your system. You can check if MySQL services running or not by using the given command.
systemctl status mysql
If MySQL services are running on your system you will see –
Securing MySQL database
Run the mysql_secure_installation to secure MySQL on your system. This is a security script that makes some less secure default options more secure for example the Validate Password Component is used to test the strength of the MySql password, you can disallow remote root login if you want.
Use the given command to run this script –
sudo mysql_secure_installation
This will prompt you to choose the options if you want to allow the option press y and enter for yes otherwise type n and then press enter for no. Meanwhile, you will be asked to set the MySql root user password. Choose the strength 0 for low 1 for medium 3 for strong password and then enter the password for root. If everything gets completed you will see the All Done message.
Start MySql to enter commands
To start MySQL type the following command in your terminal –
sudo mysql -u root -p
This will ask you to enter MySQL root user password, enter to proceed.
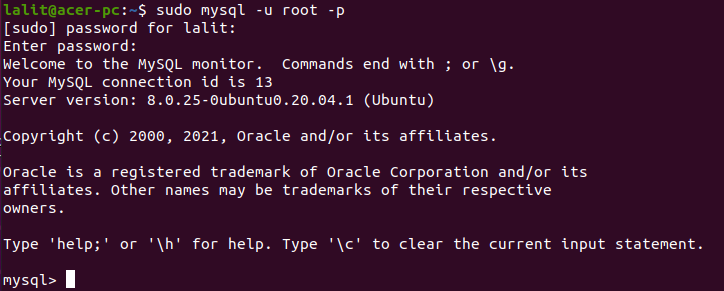
Once authentication gets completed. Your prompt will change to MySQL shell. You can start executing MySQL commands here.
Conclusion
You can follow these instructions to install MySQL on other Debian-based Linux distributions such as Linux Mint, Kali Linux, etc.
Now if you have a query then leave it in the comments below.