Notepad++ is one of the best text and source code editors developed for the Microsoft Windows platform. It is available as free software, if you are using Windows OS you can directly download and use it from its official website. You can customize and extend the functionality by using available extensions.
A Linux version of this editor is not available officially however there are different ways using which you can install it on your Linux system. Also, there are a few alternatives such as Notepadqq, SciTE, etc that work like Notepad++.
Here in this article, I will discuss how to install and use Notepad++ in Ubuntu.
Features of Notepad++
Before we move to the installation process let’s have look at the key features of the Notepad++ text editor.
- Autosave
- Code folding
- Syntax highlighting
- Finding and replacing strings of text with regular expressions
- Guided indentation
- Line bookmarking
- Macros
- Simultaneous editing
- Split-screen editing and synchronized scrolling
Installing Notepad++ from terminal
The installation of the Windows application on a Linux system is possible for a long time by using a software called Wine. It is a free and open-source compatibility layer that allows a Windows application to run on Linux and other Unix-like systems.
Wine is great software but many of you may face problems while configuring it properly it takes more effort to set up and use. Now Ubuntu provides the installation of Notepad++ using the snap package you can install it in a single command.
To install Notepad++ on your Ubuntu system first open the terminal and then run the given command.
sudo snap install notepad-plus-plus
If it asks you for confirmation then press y and then enter. This will start the downloading and installation process.

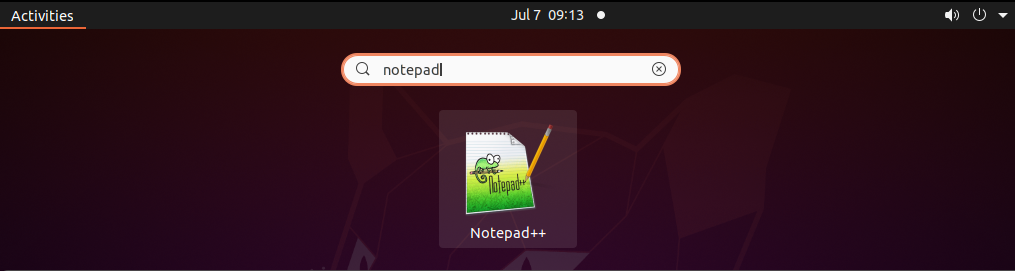
Once it gets installed you can search and open it from the Dashboard Activities.
Installing Notepad++ from Ubuntu Software
Alternatively, you can install Notepad++ from the Ubuntu software center. Open Ubuntu Software and search Notepad here scroll and click on the given.
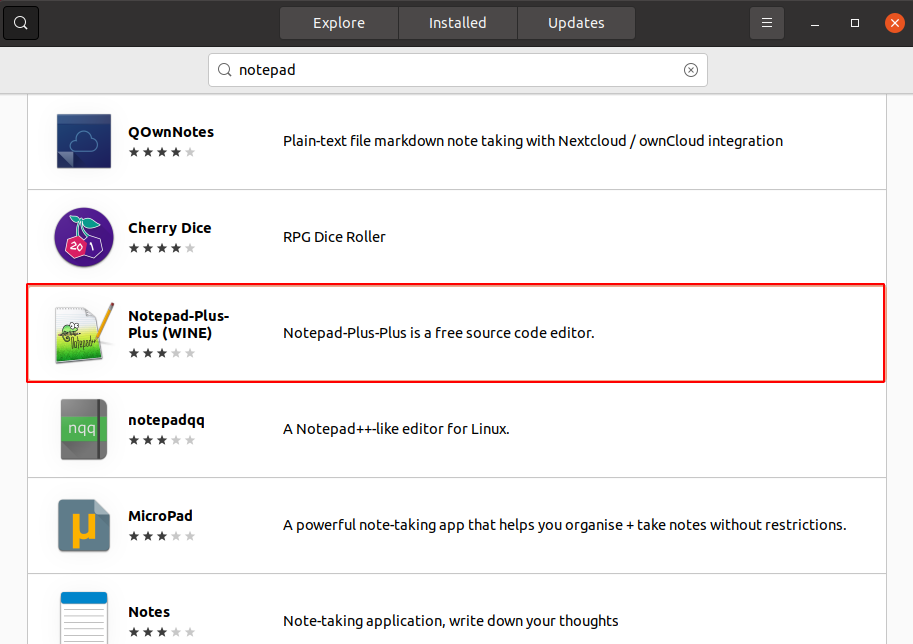
Next click on Install if it asks to enter your password, enter it to proceed with the installation.
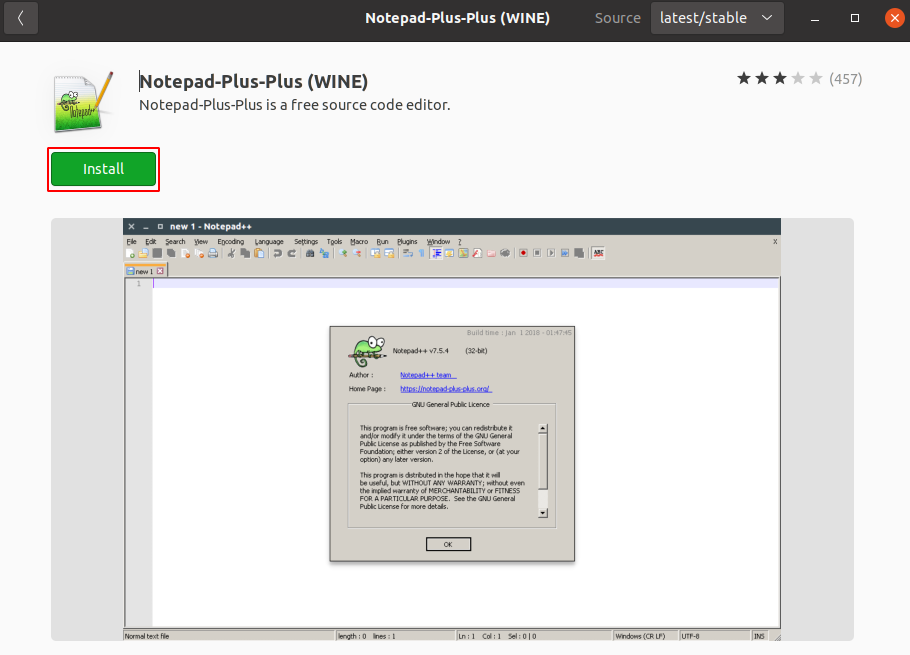
This will start the downloading and installation process.
Open Notepad++ text editor
Once the installation of notepad++ is completed on your system you can open and start using it. To launch the application click on the Show Applications and then in the search bar enter notepad++ and click on the appeared icon.
This will open the editor interface as you can see in the image below.
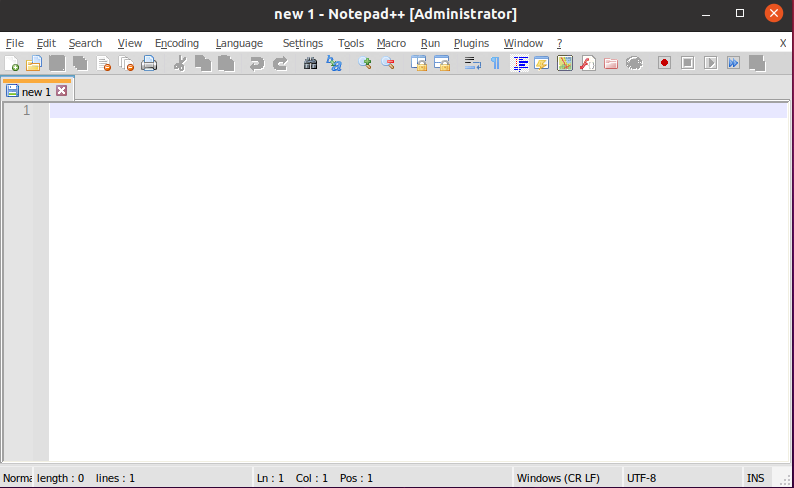
Here you can start writing text or code or edit an existing file.
Conclusion
You have successfully installed Notepad++ on your Ubuntu system. Now if you have a query then write us in the comments below.