PhotoRec is a data recovery tool build by the developers of Testdisk i.e. CGSecurity. It is a free and open-source command-based tool that is specifically designed to recover digital media such as photos, videos from camera memory, hard disk, and other storage devices. You can install and use it on multiple platforms including Linux, Windows, macOS, etc.
In this article, I will discuss how to install PhotoRec in Ubuntu Linux.
Features of PhotoRec data recovery tool
The key features of PhotoRec are –
- It has an intuitive and interactive interface
- Using PhotoRec you can recover data from camera memory
- It is able to recover data from badly damaged storage devices
- It can recover a wide variety of file formats
- You can add custom file signature to detect less known files
How to install PhotoRec in Ubuntu
To install PhotoRec on your system first run the given command to update the package index on your system.
sudo apt updateThe PhotoRec is a part of the Testdisk package but runs and recovers data in a little different way now use the given command to install PhotoRec on your system.
sudo apt install testdiskWhen it asks for your confirmation press y and then enter.
How to use PhotoRec in Ubuntu
Once the installation of Testdisk package is completed you can use the given command to run the PhotoRec utility on your system.
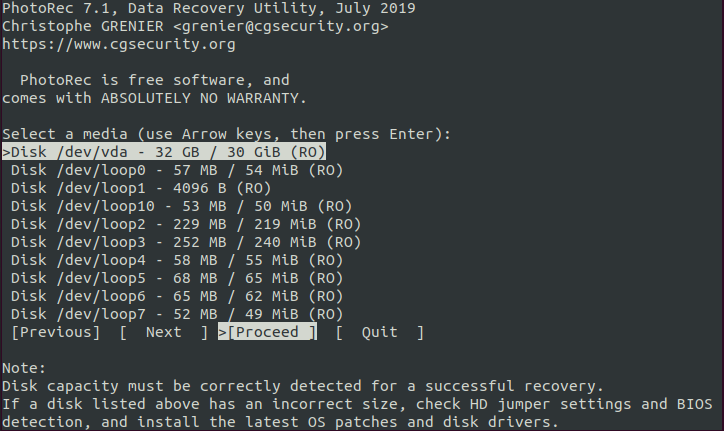
sudo photorecWhen opens it will ask you to select the media where you want to perform data recovery operations.
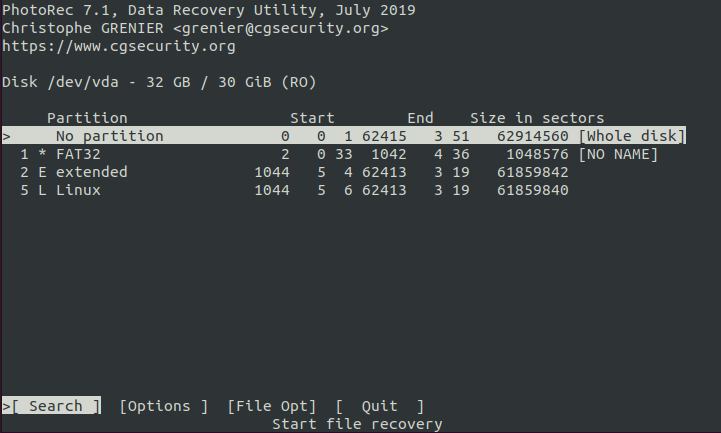
Next, select the whole disk or a specific partition where you want to search the files.
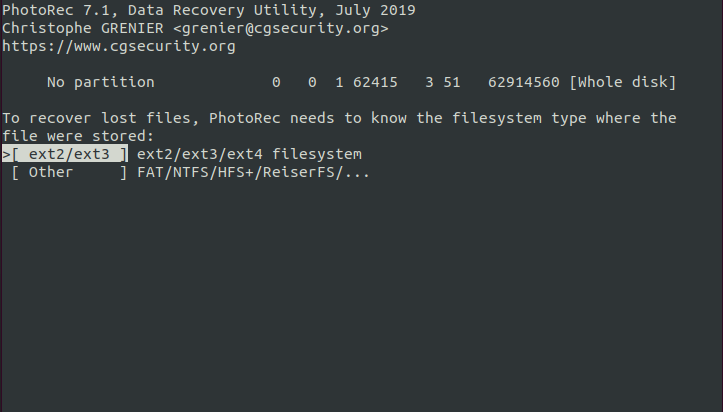
Now choose the filesystem type of the media where files were stored and press enter.
Next, choose the directory where you want to store the recovered files.
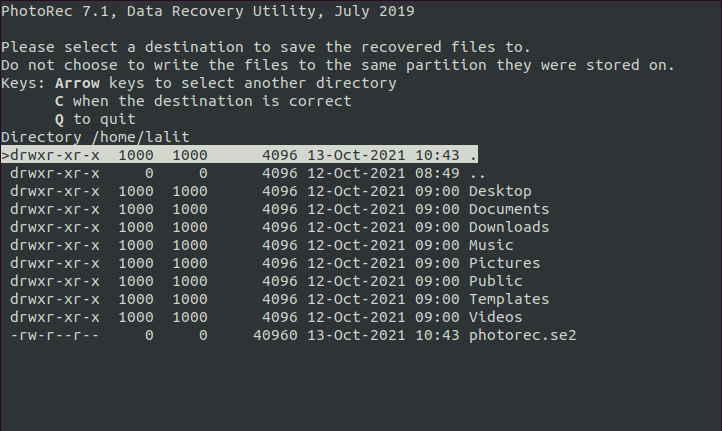
After choosing the directory press c to start the recovery process.
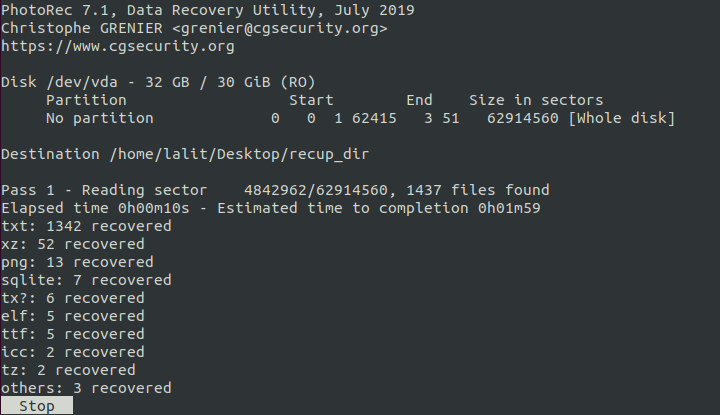
All the previously deleted files will get stored in the directories name like recup_dir. As you can notice that the files are restored with names that are different from their earlier names.
For more information on the usage of the PhotoRec utility, you can visit its official documentation.
Conclusion
I hope you understand how to use the PhotoRec utility on your Ubuntu system. Now if you have a query or feedback leave it in the comments below.