Pinta is a free and open-source drawing and image editing software. It is a cross-platform program that is available for installation on Linux, Windows, macOS, and FreeBSD. It aims at providing a simple yet powerful way of image editing and manipulation.
Pinta is inspired by Microsoft Paint and comparatively has more features.
In this article, I will discuss how to install Pinta in Ubuntu?
Features of Pinta image editor
The key features of Pinta are –
- Free and opensource
- Supported on multiple operating systems
- It supports layering
- Multiple language support
- Simple interface with flexible toolbar arrangement
- Unlimited undo enables users to experiment as much as they can
How to install Pinta image editor in Ubuntu
There are various ways of installing the Pinta image editor in Ubuntu. Now use one of the given methods to install it on your system.
Method 1: Installing Pinta from Ubuntu’s default repository
First, run the given command to update the apt package index –
sudo apt updateNext, use the following command to install Pinta on your system –
sudo apt install pintaType y and then press the Enter key when it asks for your confirmation.
Method 2: Installing Pinta using the official PPA repository
The benefit of this method is that you get the latest version of the application. Use the following command to add Pinta’s PPA repository on your system –
sudo add-apt-repository ppa:pinta-maintainers/pinta-stableRefresh the apt package index –
sudo apt updateNow use the following command to install Pinta on your system –
sudo apt install pinta -yMethod 3: Installing Pinta using snap
Snaps are containerized packages that can be used across the different distributions of Linux. Now to install the Pinta snap package on your system simply use –
sudo snap install pintaMethod 4: Installing Pinta using Flatpak
Flatpak is another way of building, distributing, and running sandboxed desktop applications on a Linux system.
To download the Pinta Flatpak package first you need to install and configure Flatpak on your system. To install Flatpak open your terminal and execute the given command –
sudo apt install flatpak -yNext, add the Flathub repository by using the given command –
flatpak remote-add --if-not-exists flathub https://flathub.org/repo/flathub.flatpakrepoNow use the given command to install the Pinta Flatpak package –
flatpak install flathub com.github.PintaProject.PintaOnce it gets installed you can launch this application by using the given command –
flatpak run com.github.PintaProject.PintaLaunch the Pinta application on Ubuntu
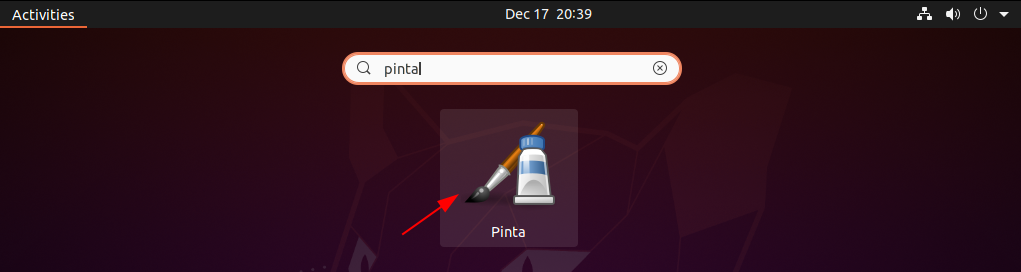
Once the installation is completed you can launch it by searching Pinta in the Ubuntu activities dashboard.
The following image shows the user interface of the Pinta photo-editing application.
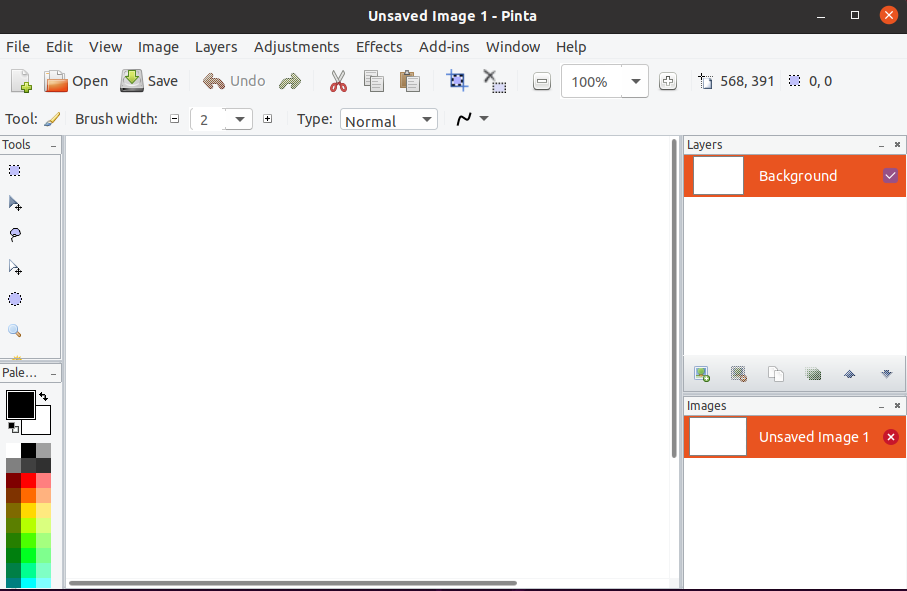
Now you can import or open an image file and start editing it.
Conclusion
So you have successfully installed the Pinta photo editing tool on your Ubuntu system. Now if you have a query or feedback then write us in the comments below.