
balenaEtcher (OR simply Etcher) is a free and open-source utility for creating a live USB drive. It writes images such as .iso or .img files to a USB drive or SD card. It offers a clean and simple user interface where you can select your operating system’s iso file and USB drive to make it bootable.
It is built using the Electron framework and can be installed on Windows, Linux, or macOS.
In this article, I will discuss how to make a USB drive bootable using balenaEtcher in Ubuntu.
Prerequisites
To follow this article you should have –
- An iso file of an operating system
- It is recommended to use a USB drive of size 8 GB or above
How to install balenaEtcher in Ubuntu
There are multiple ways using which you can install balenaEtcher in Ubuntu. Now use one of the given methods to install it on your system.
Installing balenaEtcher using the deb package
Go to the official release page of balenaEtcher and click on deb package to download the latest version of balenaEtcher as you can see in the image below.
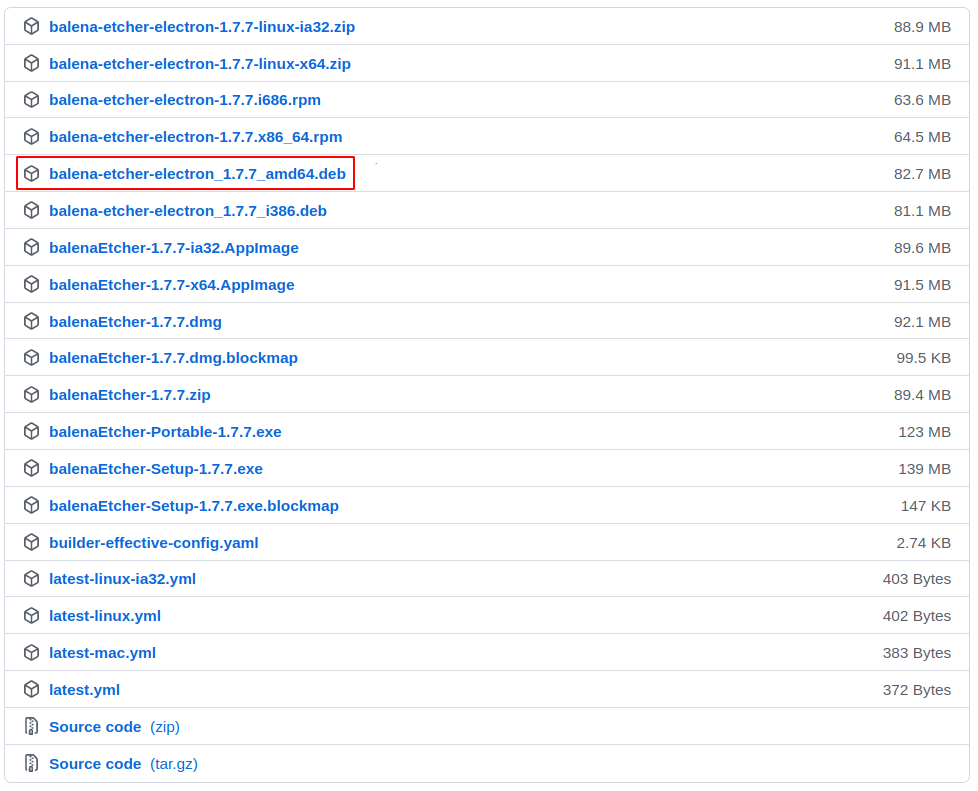
OR use the given command to download the latest release of balenaEtcher from your terminal –
wget https://github.com/balena-io/etcher/releases/download/v1.7.7/balena-etcher-electron_1.7.7_amd64.debOnce the package is downloaded, use the following command to install it –
sudo dpkg -i balena-etcher-electron_1.7.7_amd64.debIf it shows any dependencies error then use –
sudo apt install -fPress y and then Enter if it asks for your confirmation.
Installing balenaEtcher using AppImage
The AppImage is a universal software package format that runs on most Linux systems without installation.
To download the balenaEtcher AppImage package first go to its official download page and then find and download the latest balenaEtcher AppImage package.
OR you can use the given command to download the recent version of balenaEtcher-
wget https://github.com/balena-io/etcher/releases/download/v1.7.7/balenaEtcher-1.7.7-x64.AppImageOnce it gets downloaded you need to make this file executable, use –
chmod +x balenaEtcher-1.7.7-x64.AppImageNext, use the following command to run the balenEtcher on your Ubuntu system –
./balenaEtcher-1.7.7-x64.AppImageNote :- At the time of writing this article balenaEtcher-1.7.7 is the latest version
Creating a bootable USB drive using balenaEtcher
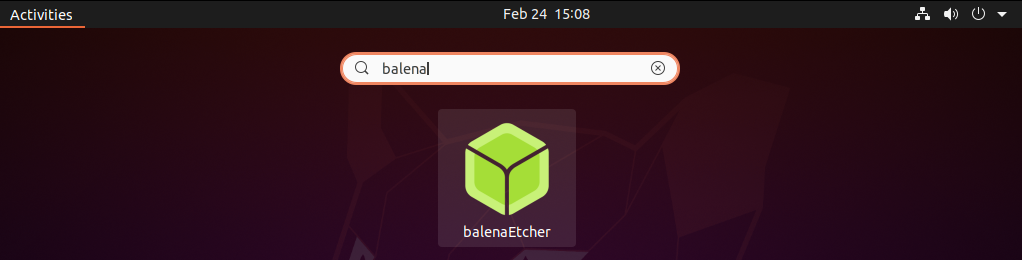
You can now start creating bootable USB drives using balenaEtcher. In the Ubuntu’s activities dashboard search balenaEtcher and click on its icon when appears.
The following image shows the user interface of balenaEtcher –
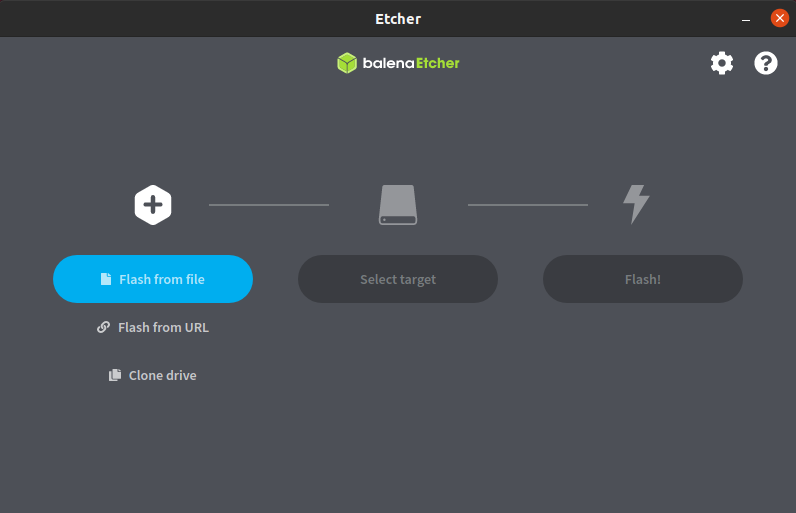
You can flash your USB using a file or from a URL, to flash from a file click on Flash from file and select a file, and then next click on Select target and choose your USB drive, Finally, click on Flash!.
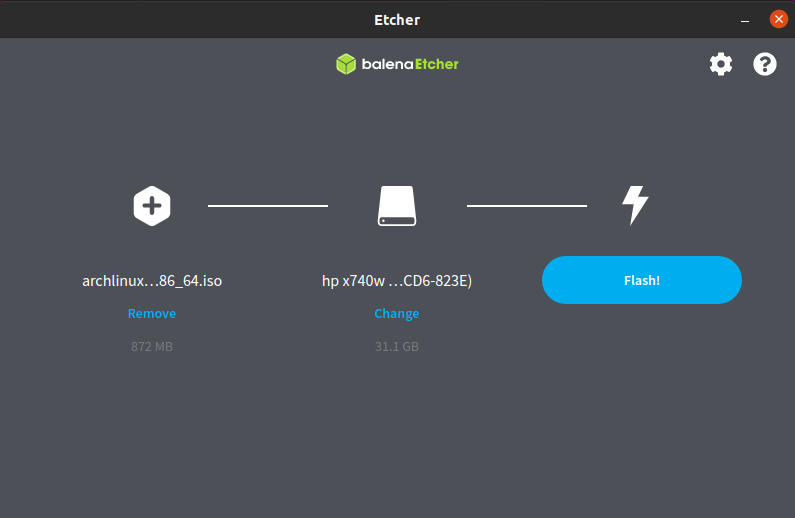
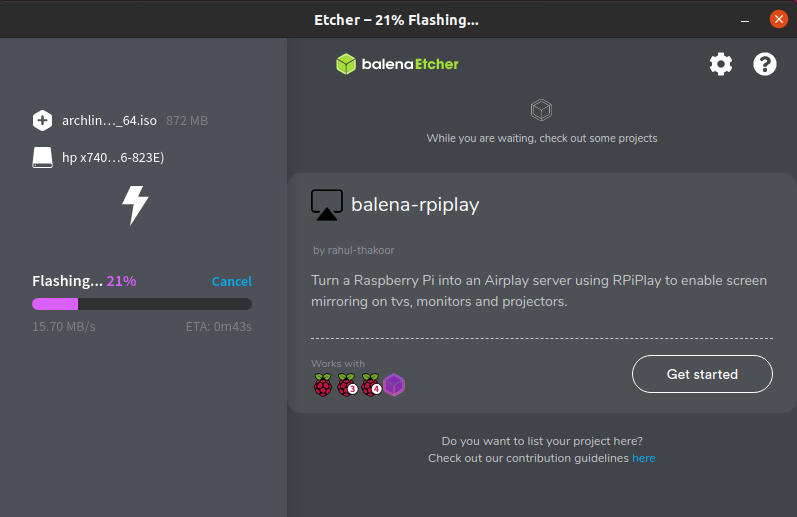
This will start flashing USB drive –
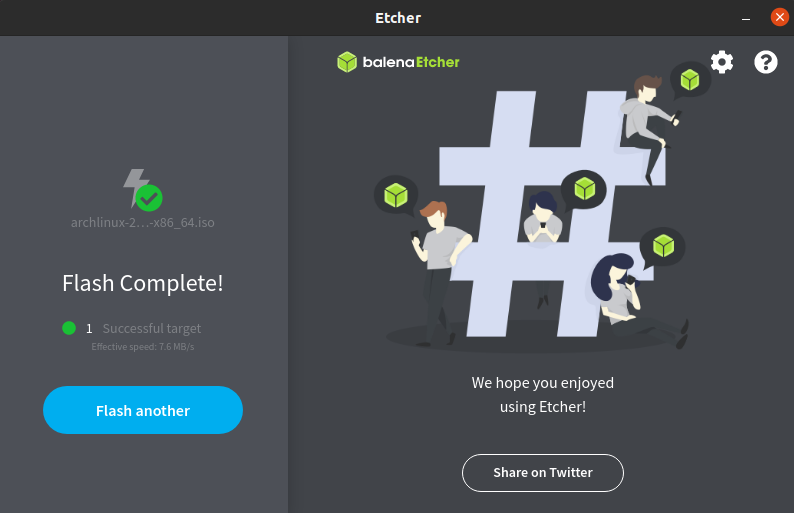
Once flashing of the drive is completed you will see –
You can also flash your Pendrive from a URL, for this, you can choose the Flash from URL option.
Conclusion
So you have successfully created your USB drive bootable now it is ready for use. Now if you have a query then write us in the comments below.