Ubuntu is among the most popular Linux distributions. It is easy to use, easy to install and includes everything that anyone needed. Ubuntu is officially released in three editions: desktop, server, and core for IoT and robots.
Ubuntu 22.04 LTS ( Jammy Jellyfish) is the newest release of Ubuntu Linux. Today we will discuss Ubuntu 22.04 LTS and its features, I will also show you the steps to install it on a computer.
Ubuntu 22.04 LTS (Jammy Jellyfish)
Canonical has released Ubuntu 22.04 which is the newest version of Ubuntu as of now. It is available on the official website of Ubuntu, you can download and install it for free. It is a Long Term Support (LTS) release, which means it will be officially supported by Canonical for five years with security fixes and select app updates.
The key features of Ubuntu 22.04 LTS are –
- Shipped with GNOME 42
- New customization options
- Performance and power improvements for the Linux desktop
- Improved multitasking capabilities
- Expanded Active Directory Integration
- WSL upgrades to Ubuntu 22.04
- Linux kernel versions 5.15 and 5.17
- Upgraded apps and tools
- Expanded Raspberry Pi support
How to install Ubuntu 22.04 LTS on a system
By following the given steps you can install Ubuntu 22.04 LTS on a system.
Requirements
Before you start the installation you will need to prepare a few things –
- Go to this link and Download Ubuntu 22.04 LTS iso file.
- Create an Ubuntu live disk. On the Linux machine, you could use the dd tool and in windows, you could download and use Rufus.
- Ensure you should have at least 25 GB of space or 5GB for a minimal installation.
- Take the backup of your data, So that if anything goes wrong you can recover your data.
Boot from USB drive
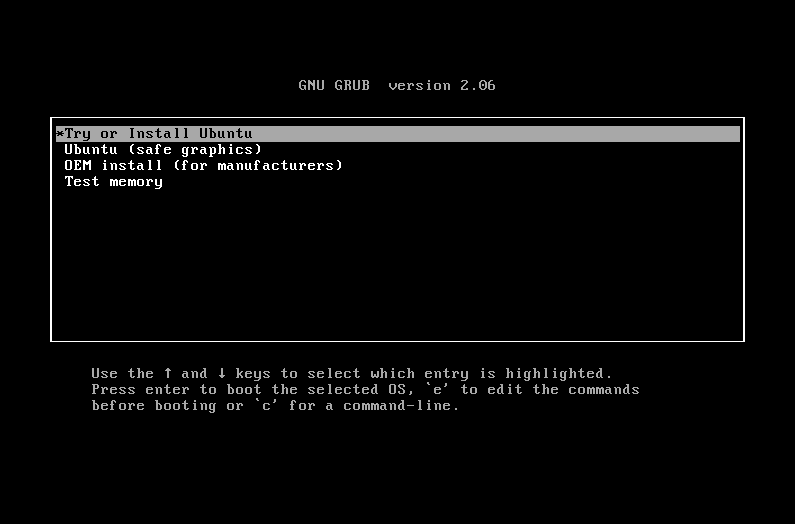
Insert the USB in a USB port and then either restart your system or power on it. Most computers will boot from the USB automatically. If your system doesn’t boot from USB by default then restart it again and try holding F12. This will display the boot menu where you can select the USB from which you want to boot.
You will see the given window here click on Try or Install Ubuntu.
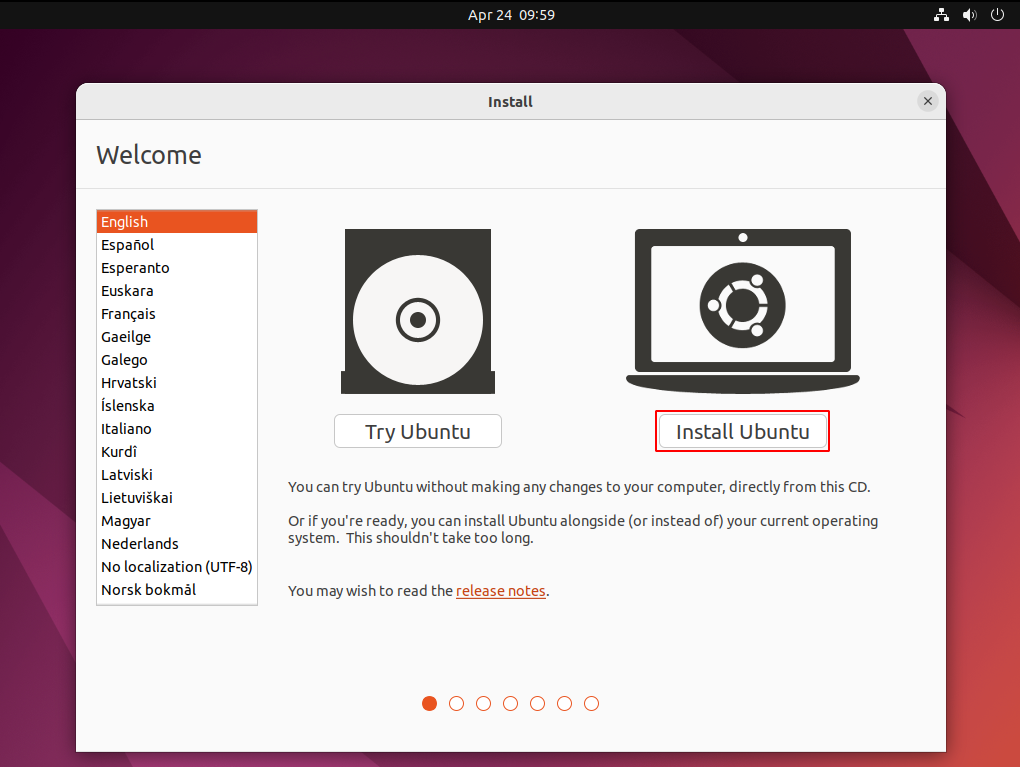
In the next window, you will be asked to select to try or install Ubuntu on your system, to install Ubuntu click on Install Ubuntu.
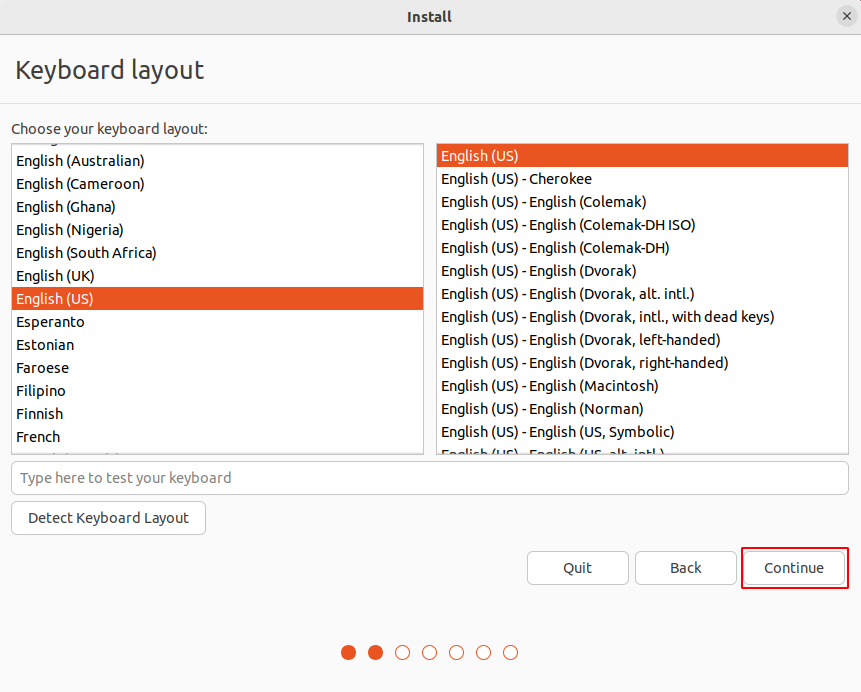
Next, select the keyboard layout and click on Continue.
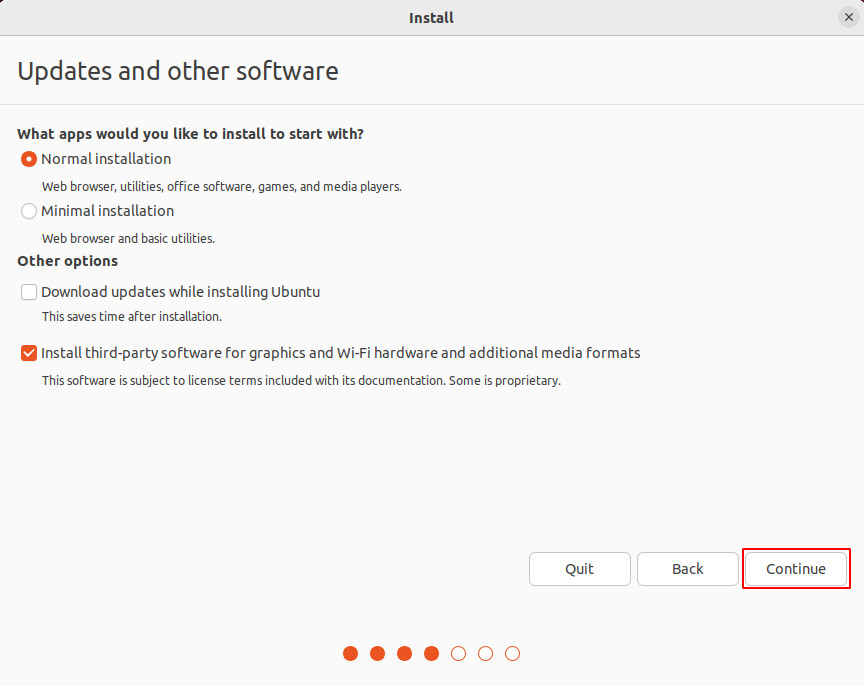
Next, you will have to choose between normal installation or minimal installation. A normal installation will install softwares such as office software, games, media player, etc. And in the minimal installation, it will install only necessary things such as a web browser and basic utilities.
In other options, I will recommend choosing both Download updates while installing Ubuntu and Install third-party software for graphics and wifi hardware and additional media formats.
Choose your options and click on Continue.
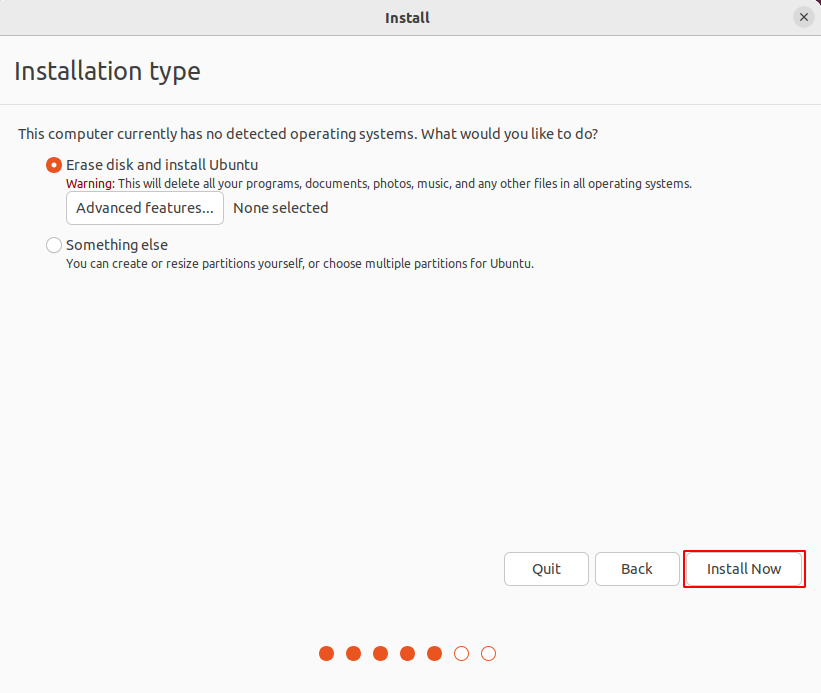
Select installation type i.e. Erase disk and install Ubuntu or something else. In the first option, the whole disk will be formatted and Ubuntu will be installed on it. And in something else option you can create, and resize partition manually.
If you are a new user you can simply select the first option and click on Install Now.
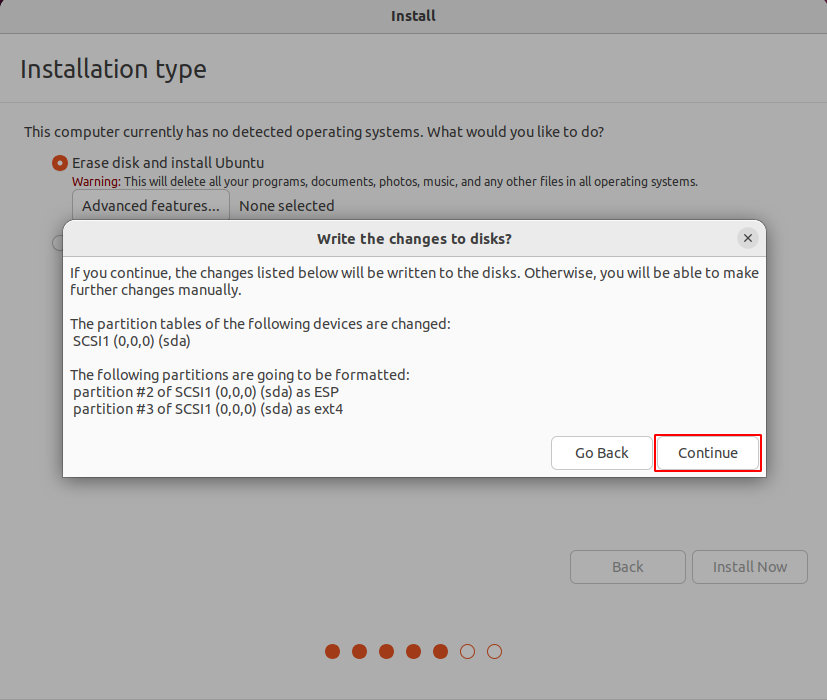
This may prompt you for confirmation as given in the image below, here click on Continue.
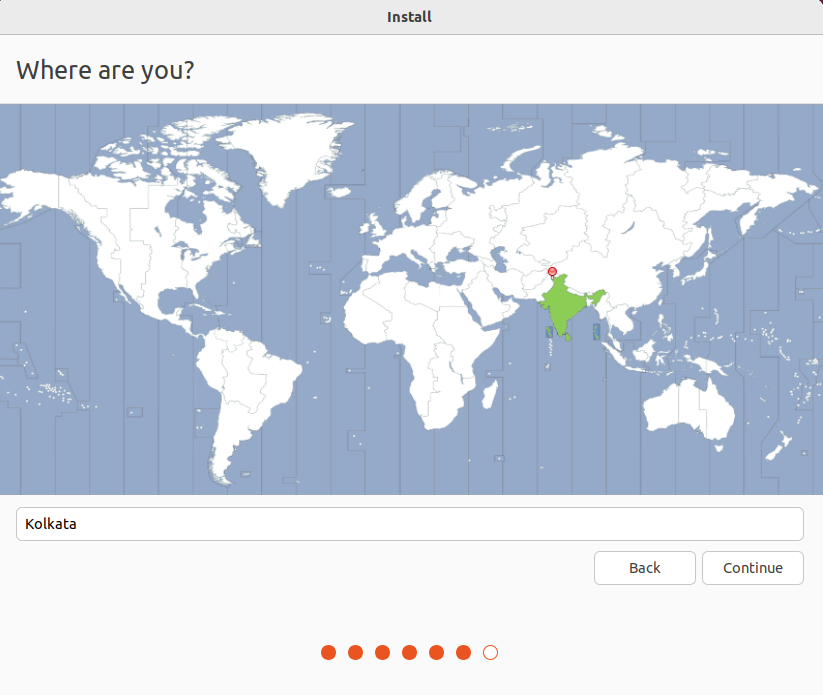
Next, you need to select your location, if you are connected to the internet your location will be detected automatically. Check if it is correct or not and then click on Continue.
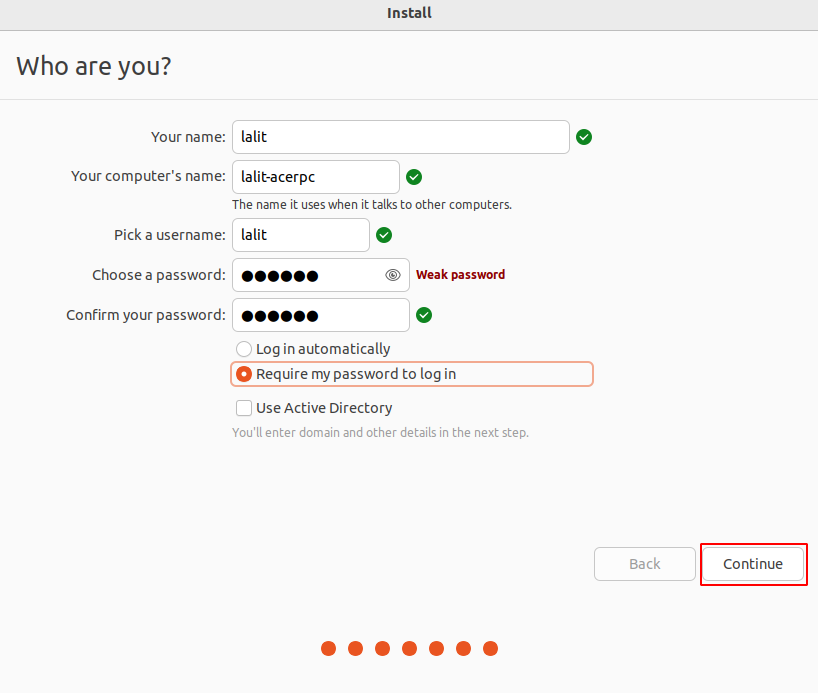
In the next window, you will ask to enter the username it will be used for login. When you enter your name it will automatically suggest a computer’s name, you can edit it also. The computer name is how you will appear on the network. Next, choose a strong password, the installer will suggest if it is too short.
Other options are to Log in automatically, Require my password to log in, and Use Active Directory. I will suggest selecting the second one. This will stop the people to access the data on your computer.
Enabling the third option i.e. Use Active Directory will ask you for further details like domain.
After entering your details and selecting the options click on Continue.
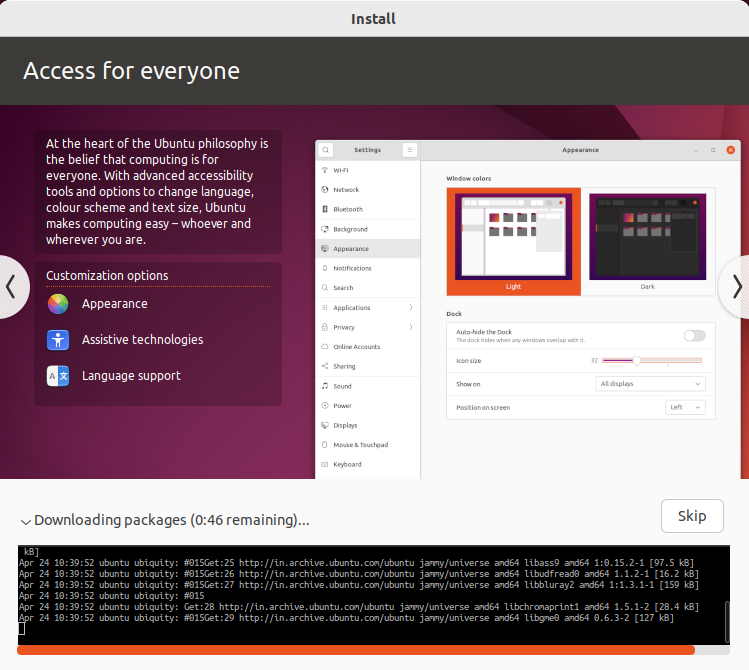
This will start the installation process as you can see in the image below.
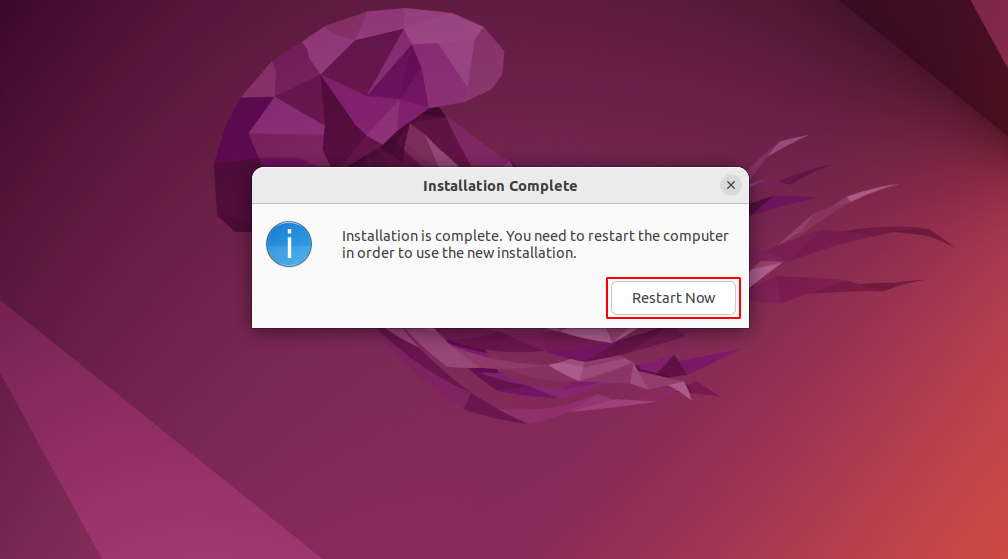
Once everything gets installed you will see a small window informing installation is completed, click on Restart Now.
Remove the installation media if prompted.
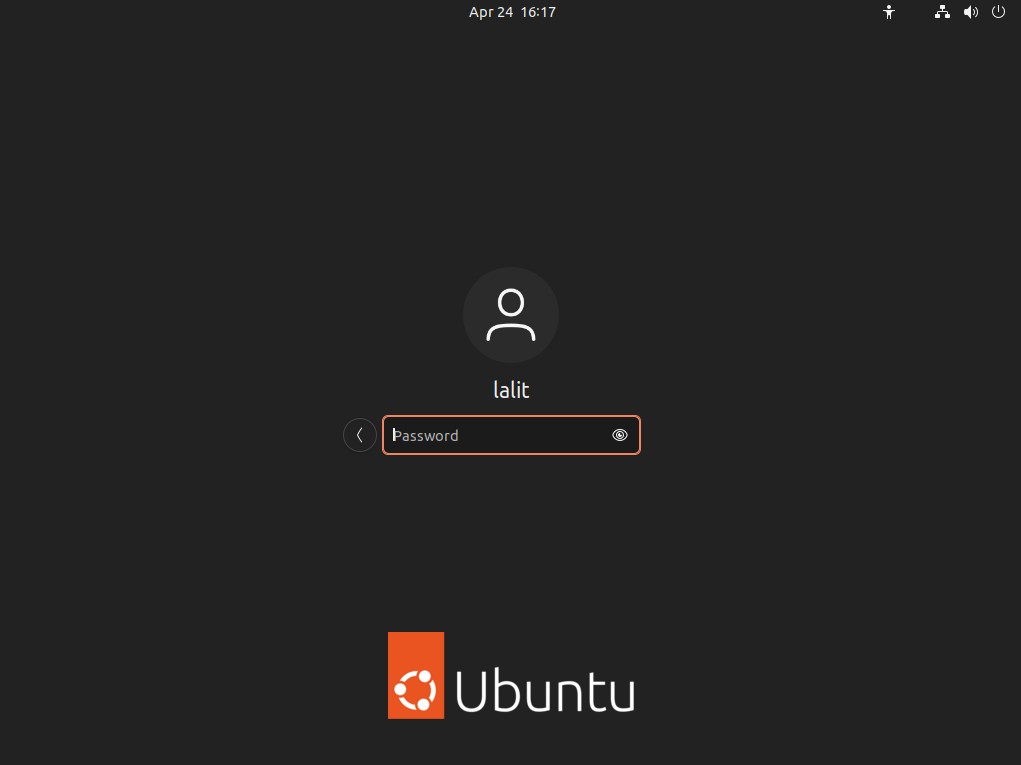
The following image shows the user login screen of Ubuntu 22.04 LTS.
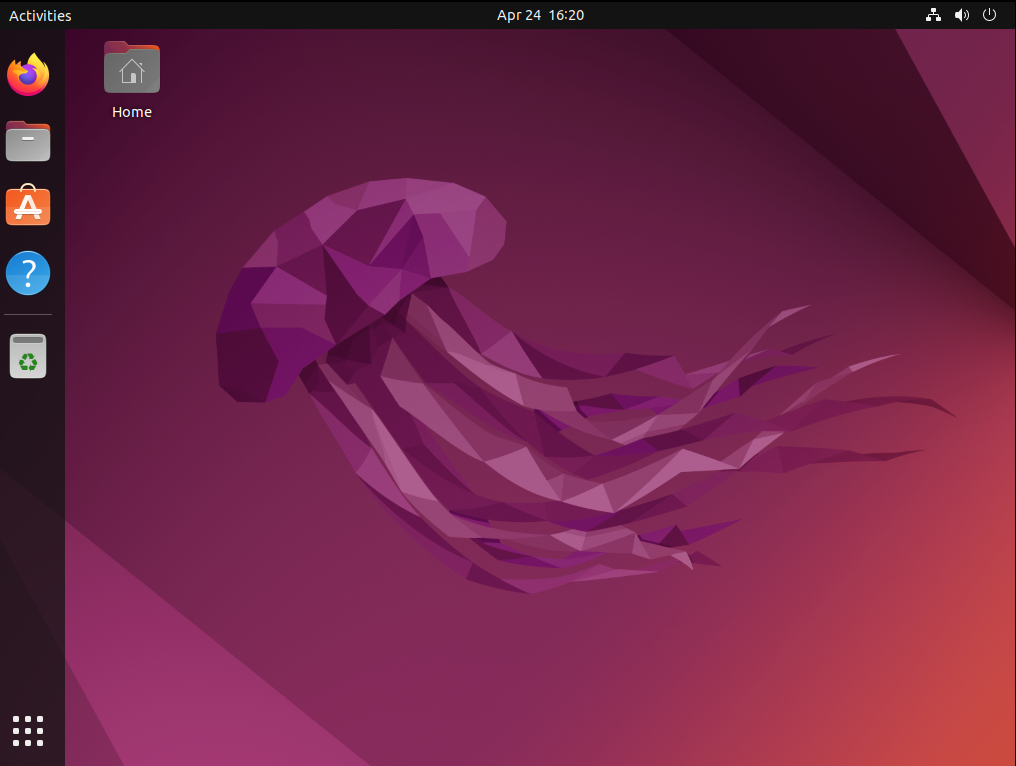
The image which is given below shows the Ubuntu 22.04 LTS desktop.
Conclusion
You have successfully installed Ubuntu 22.04 LTS Jammy Jellyfish on your system now it is ready for use.
If you face any problems you can ask in the comments below.