GIMP or GNU Image Manipulation Program is a free and open-source software for high-quality image manipulation, image editing, free-form drawing, converting images from one format to another, etc.
It is suitable for graphics designers, photographers, illustrators, and scientists. The functionality of GIMP can be enhanced by using third-party plugins.
Today in this article, we will discuss how to create GIFs using the GIMP software in Linux.
Installing GIMP in Linux
If you don’t have GIMP installed on your system then you can install it by following one of the given commands –
To install GIMP in Debian-based distributions use –
sudo apt install gimp -yIf you are using an rpm-based Linux distribution then use –
sudo dnf install gimp -yCreating GIFs using GIMP software
Follow the given steps to create a GIF file by using GIMP software in Linux.
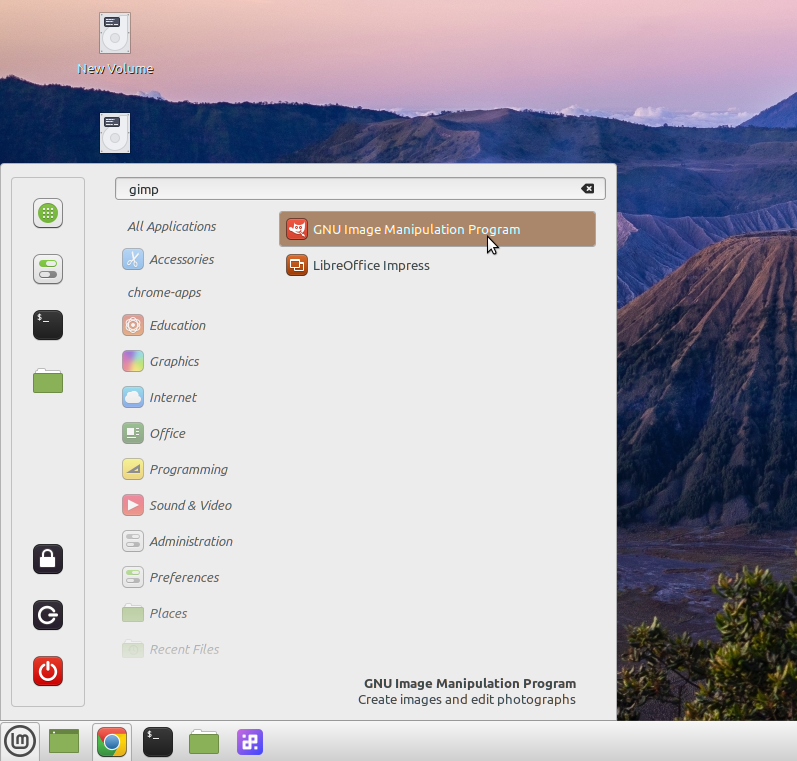
Open GIMP on your Linux system.
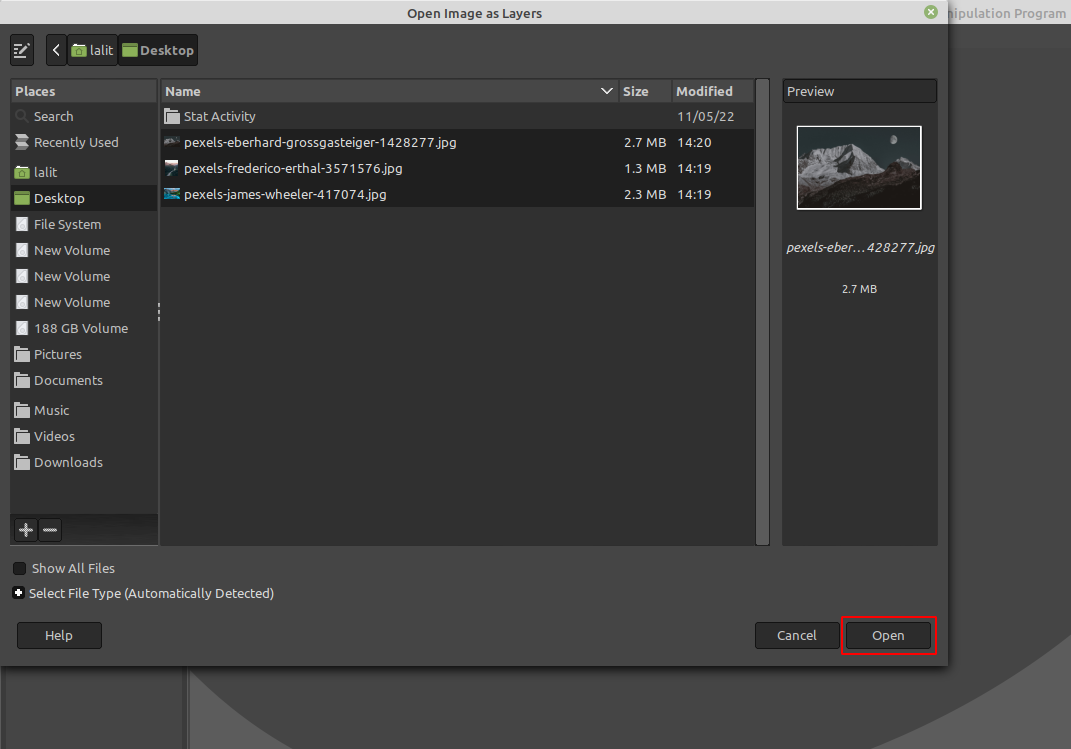
Go to File>Open as Layers this will open a window, select all the images that you want in GIF and click on Open.
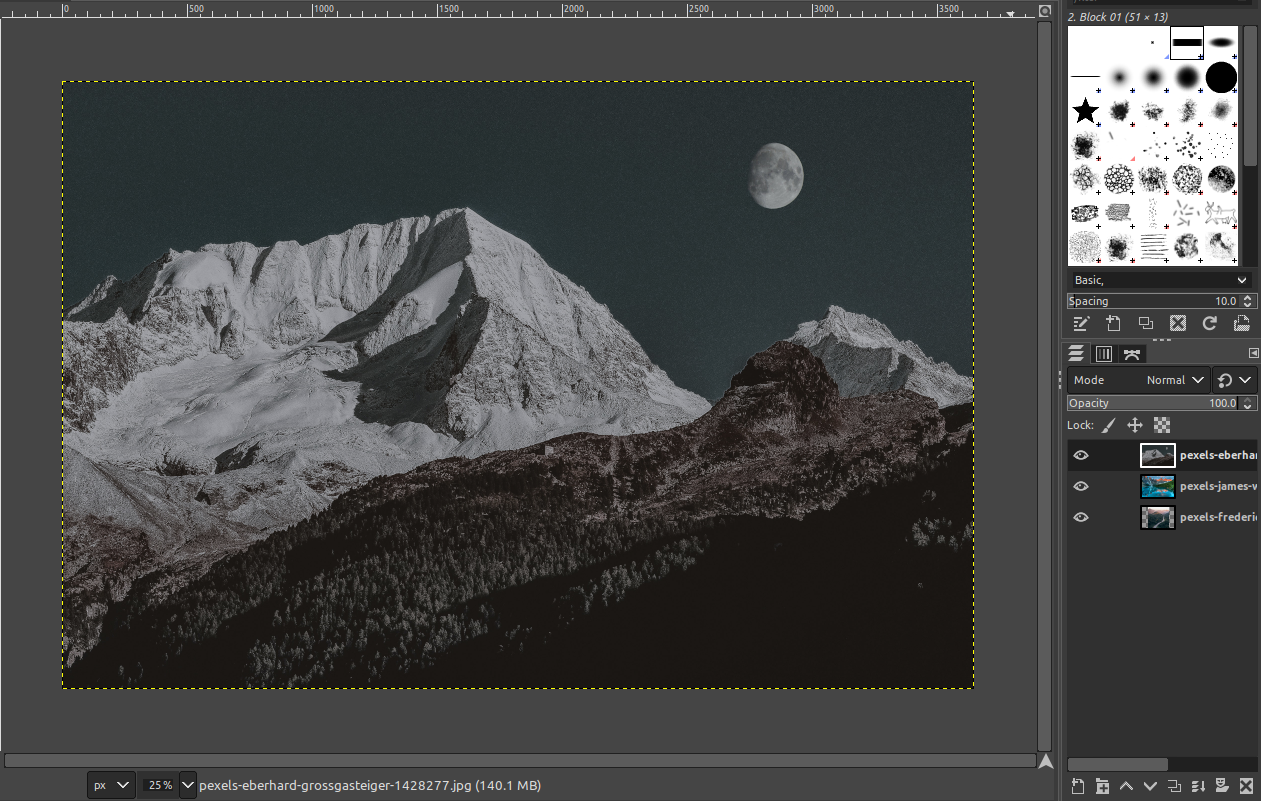
Next order your images in the layer tab, the sequence will start from the bottom image and go towards the topmost image.
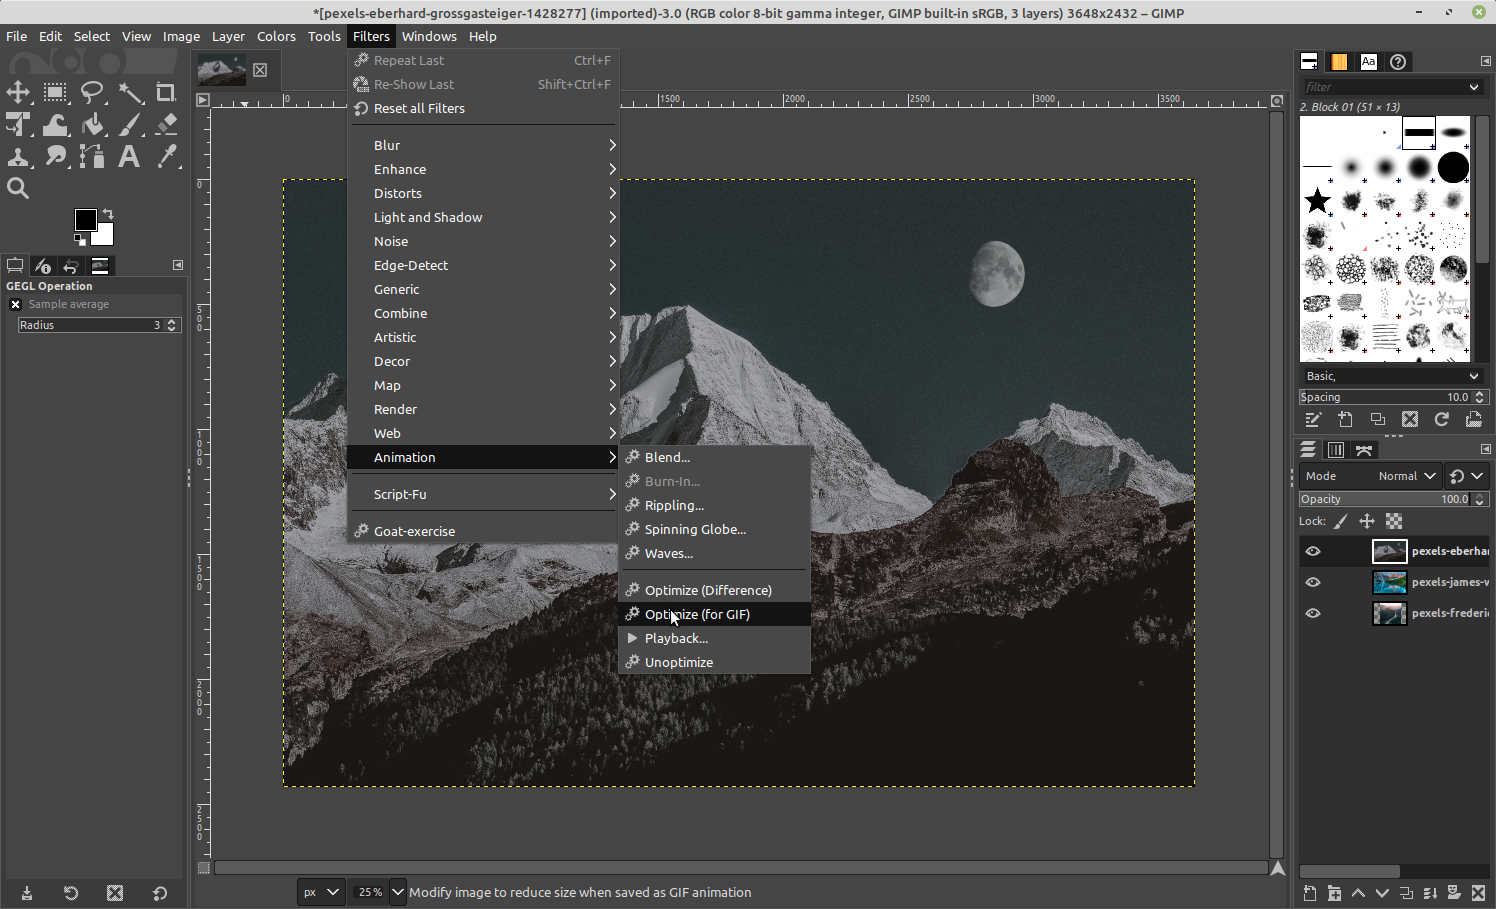
Now select Filters from the main menu and then in the drop-down menu click on Animation > Optimize (for GIF) this will combine all the images and create a gif file.
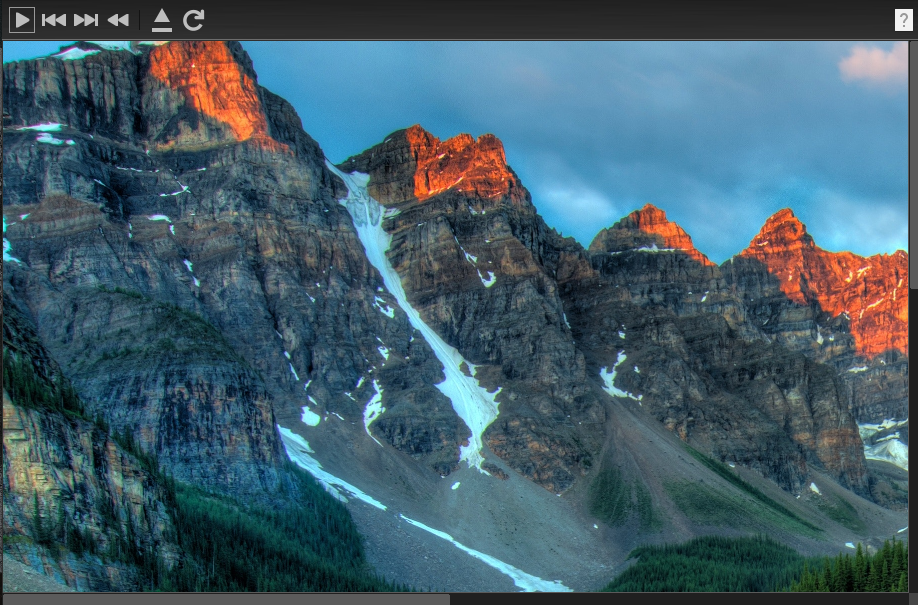
To view the created GIF go to Filters>Animation>Playback this will open a separate window where you can play the created gif.
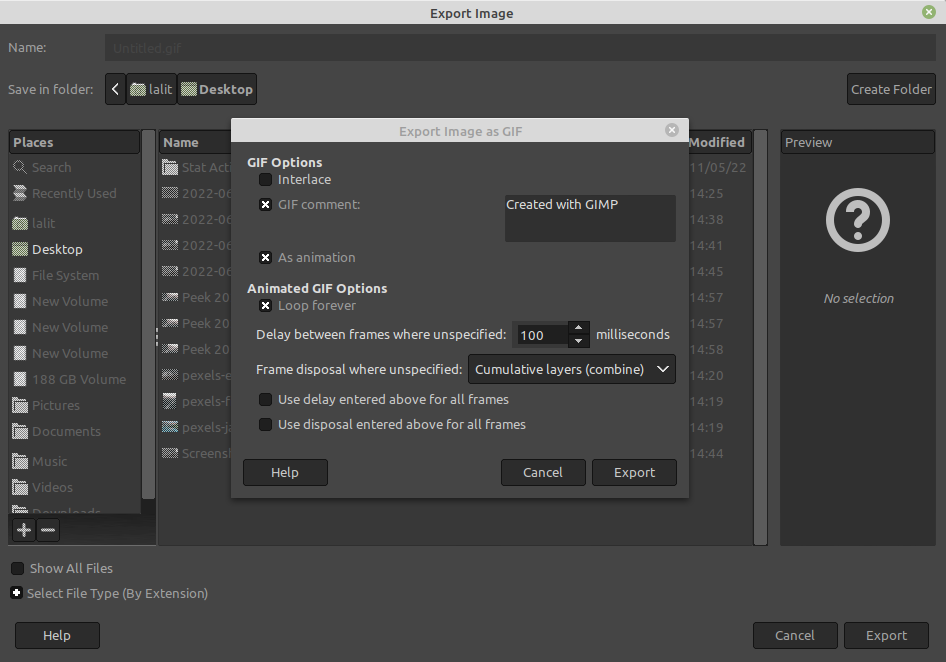
You can save this file by clicking on File>Export as, this will open a new window where you can select the delay between frames, frame disposal, etc finally click on Export to save the file.
Conclusion
So In this article, you have seen how to use GIMP software for creating animated gif files. Now for any query or feedback write us in the comments below.