Rootkit is a set of malicious computer programs that are designed to enable access to a computer system while hiding its presence. Having rootkits on a system mean someone have unauthorized access to it and most probably they are accessing data and sensitive information of your system.
There are software using which you can detect and remove rootkits from a system one of the most popular tool to remove rootkits is rkhunter.
What is Rkhunter?
Rkhunter (Rootkit Hunter) is a lightweight computer antivirus program that detects and fixes rootkits, backdoors, and other possible local exploits. It comes preinstalled on distributions like Kali Linux, Fedora, etc.
It works by comparing SHA-1 hashes of important files with good online databases. It scans hidden files, wrong permissions set on binaries, and suspicious strings in the kernel.
In this article I will discuss how to install rkhunter on Ubuntu Linux.
Features of rkhunter
The key features of Rkhunter are –
- Free and opensource
- Lightweight and fast
- Work from terminal
- It uses SHA-1 hash comparison to detect malicious entries
- Portable and compatible with most UNIX-based systems
How to install Rkhunter on Ubuntu
Rkhunter is available in the official Ubuntu repository you can install it either from Ubuntu Software or by using apt command.
So before you install a package on your system make sure apt package repository is updated –
sudo apt updateNow use the following command to install rkhunter on your system –
sudo apt install rkhunterPress y and then enter if it asks for your confirmation.
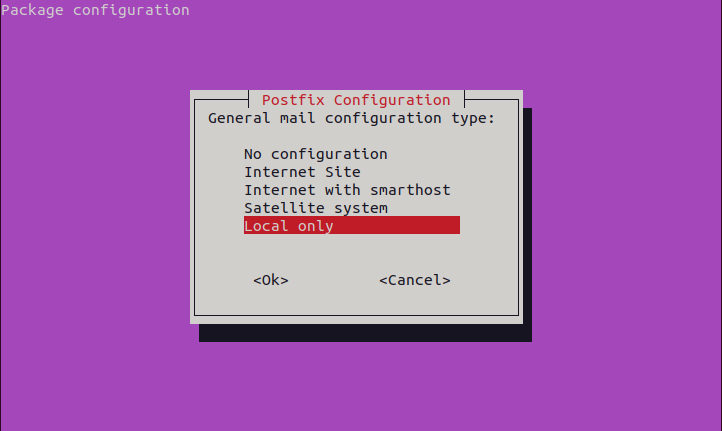
During the installation you will be asked for postfix configuration. Here you can select the Internet Site by pressing Tab and then provide your system mail name.
For this article I will setup it on local only.
Once completed, you can verify the rkhunter installation by using –
rkhunter --version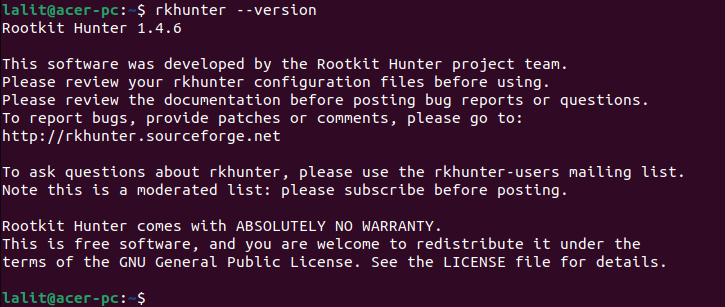
Configuring Rkhunter
Before you use rkhunter you should configure a few things.
sudo nano /etc/rkhunter.confChange the file configuration to –
UPDATE_MIRRORS=1MIRRORS_MODE=0Also set WEB_CMD option to null.
WEB_CMD=""Enabling regular scan and update with Cron
You can automate the process of regualr system scan and database update by using cron settings. First open the /etc/default/rkhunter by using a text editor –
sudo nano /etc/default/rkhunterAnd then make the given changes to this file –
CRON_DAILY_RUN="true"CRON_DB_UPDATE="true"APT_AUTOGEN="true"Update Rkhunter text data files
Text data files are used by rkhunter to detect any suspicious program or threat on a system. Update it by using the given command –
sudo rkhunter --updateNext you can check the version of updated Rkhunter by using –
sudo rkhunter --versioncheckHow to use Rkhunter on Ubuntu
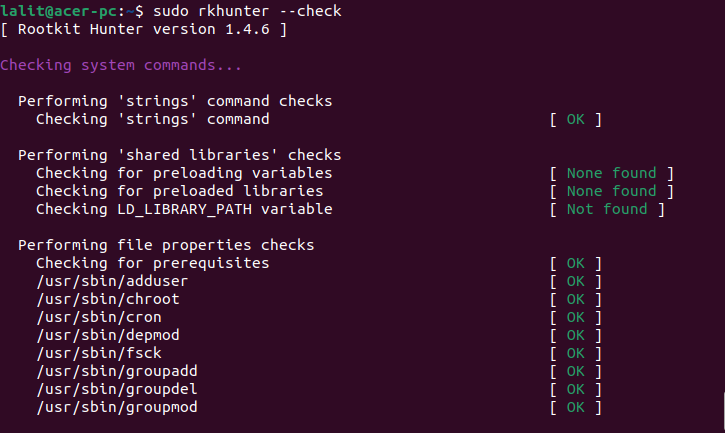
Check your system for any threats by using –
sudo rkhunter --checkPress enter each time it ask for your confirmation.
For more rkhunter commands you can view its man page by using –
man rkhunterAdditional info: rkhunter log file exists at /var/log/rkhunter.log
Conclusion
Ok so now we hope you have successfully installed it and are able to use it for detecting and removal of rootkits from on your Ubuntu system.
Now if you have a query or feedback then write us in the comments below.