EasyJoin is an application for wireless communication and file transfer. It allows you to easily connect and interact with all devices that use EasyJoin in your network.
This application is cross-platform and available for installation on Linux, Windows, macOS, Android, Browser, etc.
In this article, I will discuss how to install EasyJoin on Ubuntu Linux.
Features of EasyJoin
The key features of EasyJoin are –
- Easy to use interface
- Decentralized connection
- Allow sending files to multiple devices at once
- Offers shared clipboard
- Notification synchronization between two devices
- You can send text and URLs
- Allow remote control of a device functionality
- End to end encryption ensures the safety of data
- Ensures user privacy
Prerequisites
For installing EasyJoin on your system you should have –
- Access to a user account with sudo privileges
- For sending or receiving files wirelessly using EasyJoin you should have EasyJoin installed on both sender and receiver sides
How to install EasyJoin in Ubuntu
The installation of EasyJoin depends on some other package so first, you need to install them if you want to install EasyJoin on your system.
Installing Mono
First, use the following commands to download the repository key and add the mono repository to your system –
sudo apt install gnupg ca-certificatessudo apt-key adv --keyserver hkp://keyserver.ubuntu.com:80 --recv-keys 3FA7E0328081BFF6A14DA29AA6A19B38D3D831EFecho deb https://download.mono-project.com/repo/ubuntu stable-focal main" | sudo tee /etc/apt/sources.list.d/mono-official-stable.listNext refresh the local apt package repository –
sudo apt updateFinally, use the given command to install Mono on Ubuntu –
sudo apt install mono-completePress y and then Enter if it asks for your confirmation.
Installing Gtk-Sharp
Use the following command to install the Gtk-Sharp package on your system –
sudo apt install gtk-sharp2 -yInstalling EasyJoin
First, download the EastJoin setup by using –
wget https://easyjoin.net/download/easyjoin-linux-v2_0.zipCreate a folder EasyJoin in your home directory –
mkdir EasyJoinUnzip the downloaded package into the EasyJoin directory by using the given command –
unzip easyjoin-linux-v*.zip -d EasyJoin;Next move to this directory –
cd ~/EasyJoin;Use the following command to make the EasyJoin setup executable –
chmod +x EasyJoin.exe;Finally, use the given command to run it –
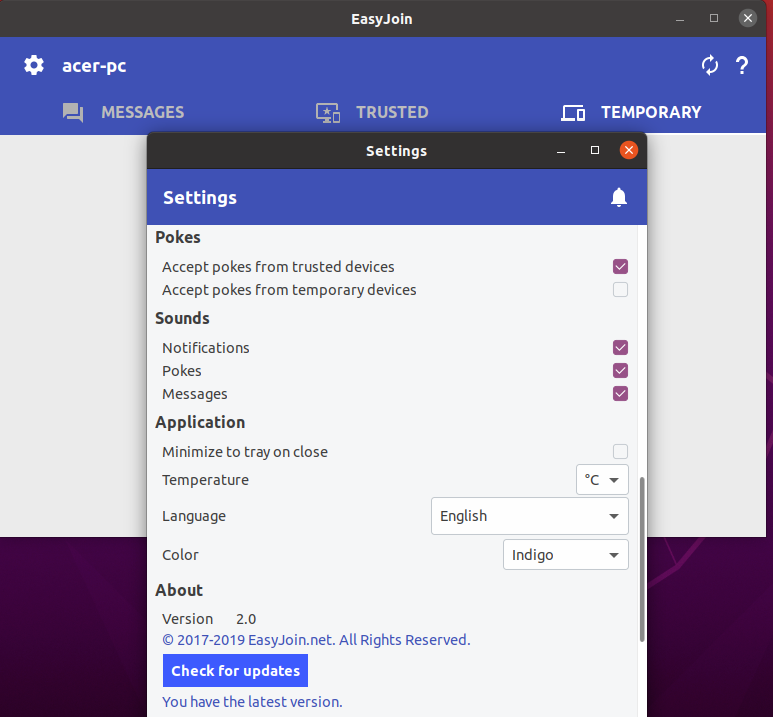
mono EasyJoin.exe > /dev/null&How to use EasyJoin in Ubuntu
The last command given above will launch the EasyJoin application on your system.
Both sender and receiver do not require the internet for communication they only require a wifi connection. All the devices communicating with each other should be connected to the same wifi network.
The connected device will be displayed under the temporary tab you can tap on a device to send files or messages.
Conclusion
So now we hope you have successfully set up EasyJoin on your system. Now if you have a query or feedback then write us in the comments below.